Table of Contents
- What Is a School Sensory Room?
- Why Sensory Room Design for Autism Should Be Individualized
- Start With the Purpose of the Sensory Room
- Create Separate Sensory Zones
- Design a Quiet Calming Zone
- Use Lighting Carefully
- Bubble Tubes as a Visual Focal Point
- Add a Movement Zone for Sensory Seeking Students
- Keep Movement Equipment Away From Calming Equipment
- Include Proprioceptive Activities
- Create a Tactile Exploration Area
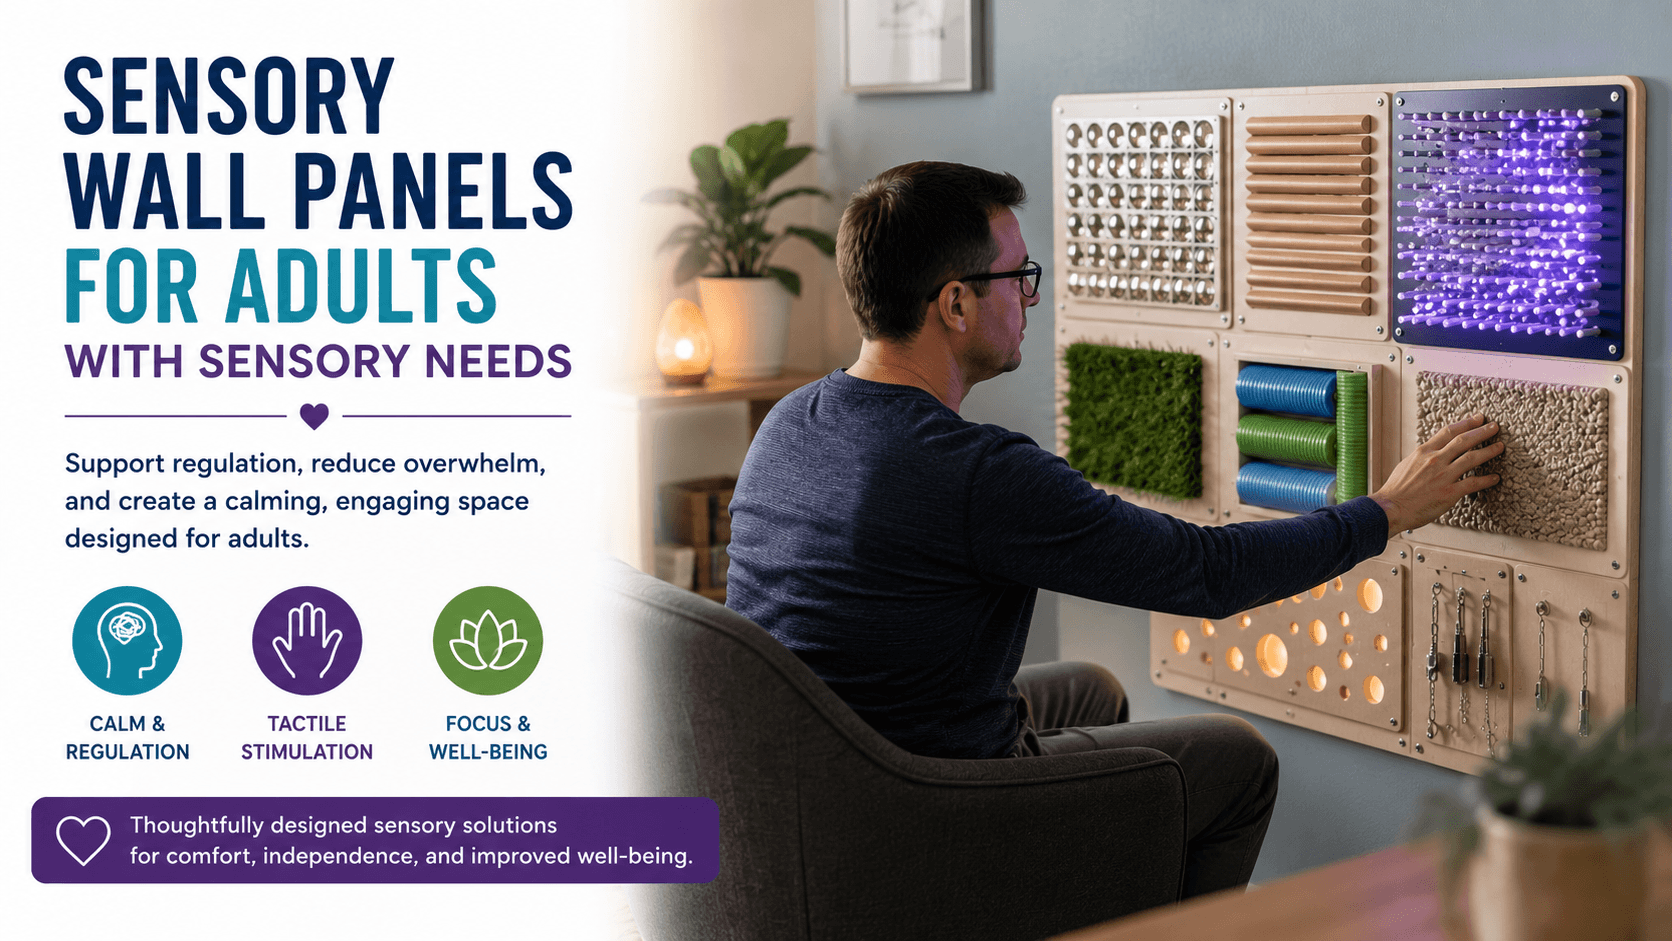
- Use Sensory Wall Panels to Save Space
- Think About Auditory Sensitivity
- Avoid Sensory Overload Through Visual Clutter
- Make Student Choice Part of the Design
- Plan for Students Who Use AAC
- Make the Sensory Room Wheelchair Accessible
- Plan for Safe Sensory Swing Installation
- Choose Flooring Based on the Activity
- Do Not Use the Sensory Room as Punishment
- Use Visual Schedules and Timers
- Create a Consistent Exit Routine
- Build Storage Into the Room Design
- Create Clear Sensory Room Rules
- Develop a Supervision Plan
- Consider Cleaning and Shared Use
- Inspect Sensory Equipment Regularly
- Include Occupational Therapy Input When Appropriate
- Design for More Than One Student Profile
- Sensory Room Design on a School Budget
- Ready Made Sensory Room Packages for Schools
- Common School Sensory Room Design Mistakes
- Sensory Room vs. Calm Corner for Autism Support
- How to Plan a School Sensory Room Step by Step
- Shop School Sensory Room Equipment at eSpecial Needs
- FAQs
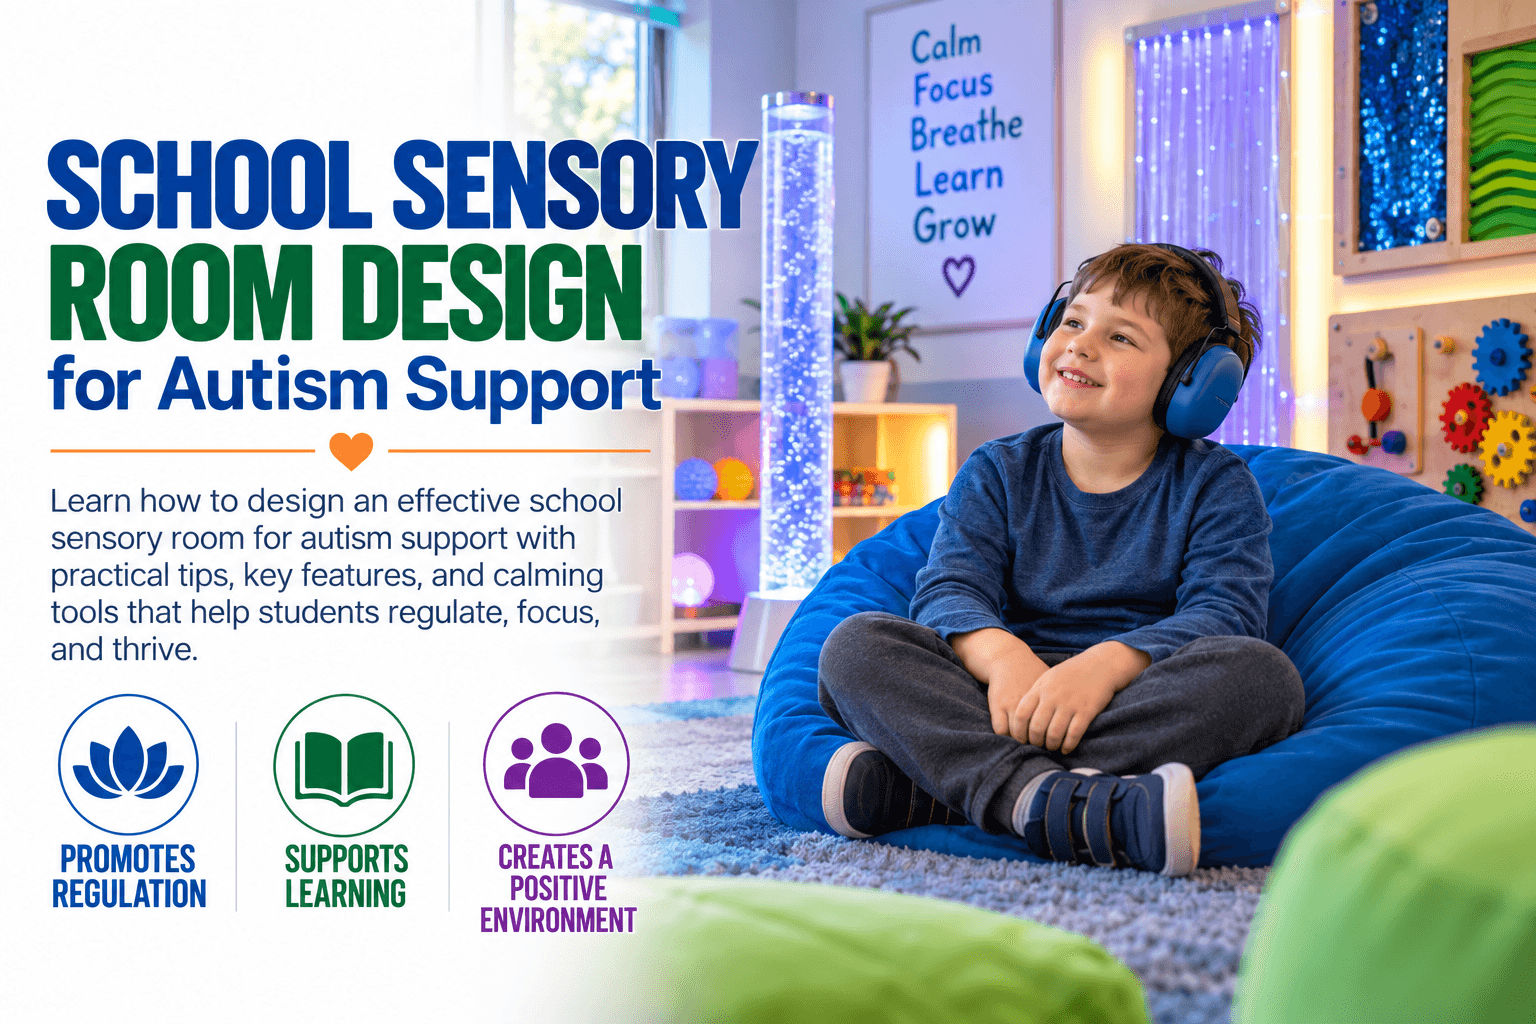
School sensory room design for autism support should begin with the students who will use the space, not with a list of popular sensory products. Autistic students can have very different responses to light, sound, movement, touch, pressure, and crowded environments, so an effective school sensory room should provide choices while keeping the environment predictable, accessible, and safe.
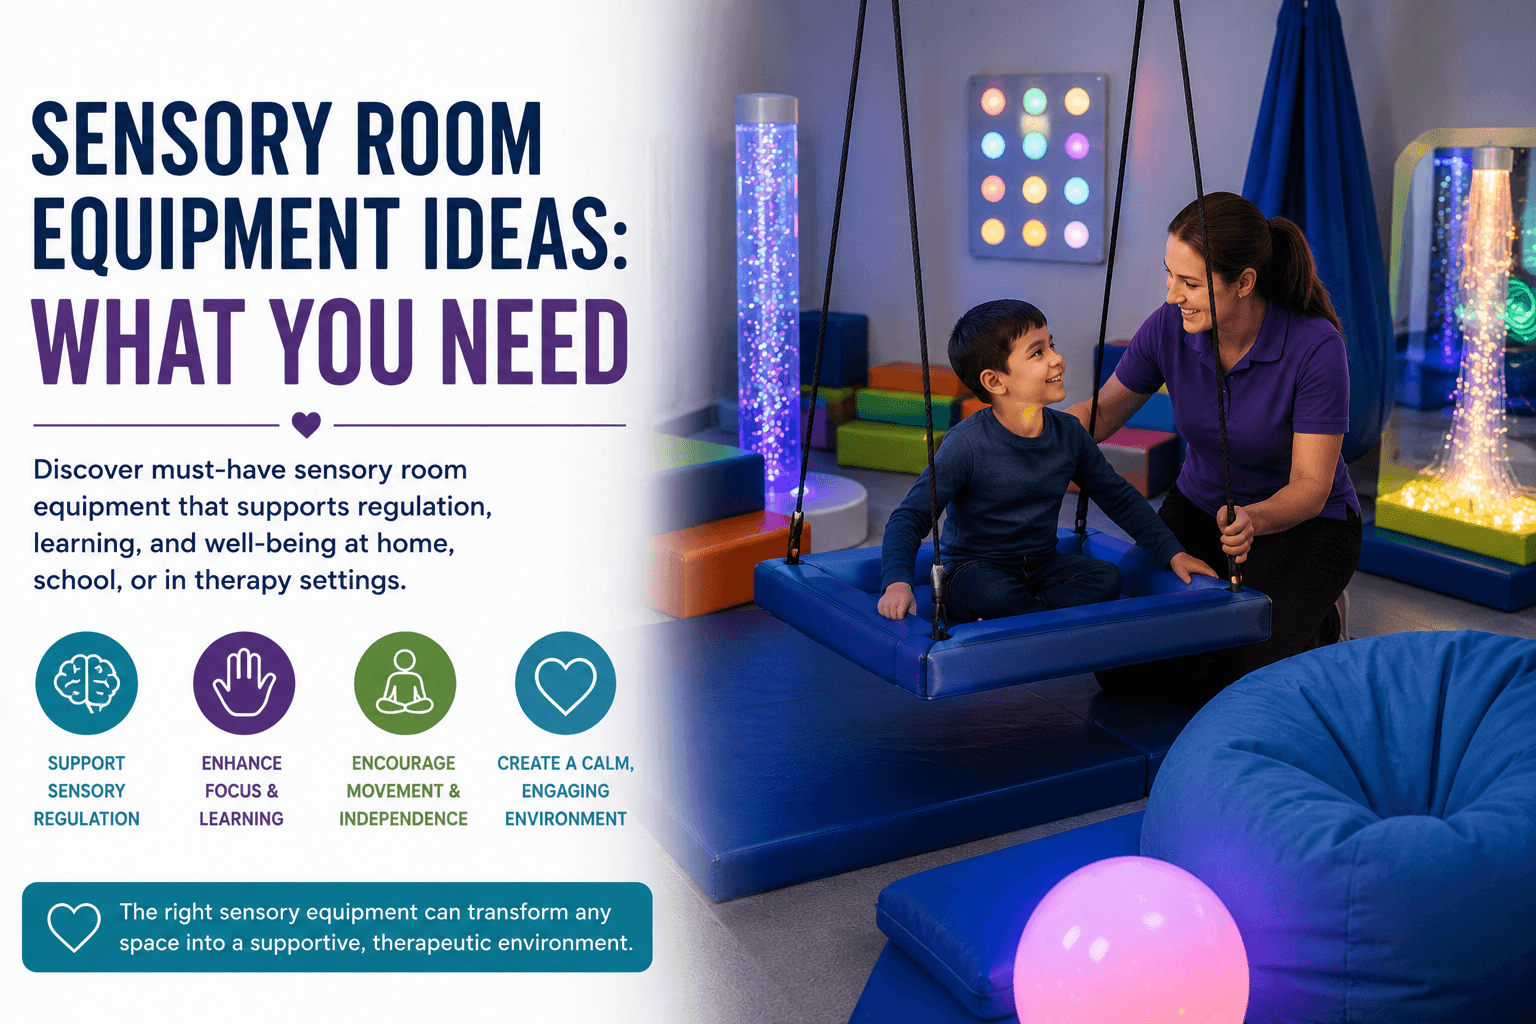
A thoughtfully planned sensory room can give students a dedicated place for quiet breaks, sensory exploration, movement, tactile activities, communication, and preparation for returning to classroom routines. The goal is not to create the brightest or most elaborate room. It is to build a flexible space that supports individual sensory preferences and meaningful participation during the school day.
Schools planning a new space can explore Sensory Room Equipment and Sensory Room Packages at eSpecial Needs.
What Is a School Sensory Room?
A school sensory room is a dedicated environment where students can access controlled sensory experiences away from the demands and distractions of the regular classroom.
Depending on the students and goals, the room might include:
- Calming seating
- Soft lighting
- Visual sensory equipment
- Tactile activities
- Movement equipment
- Deep pressure products
- Sensory wall panels
- Fine motor activities
- Noise reduction options
- Communication supports
- Protective mats
- Visual schedules and timers
Some rooms primarily provide a quiet place to reduce stimulation. Others emphasize movement and active sensory exploration. Larger school sensory rooms may include separate areas for both.
For a broader equipment overview, read The Complete Guide to School Sensory Room Equipment.
Why Sensory Room Design for Autism Should Be Individualized
There is no single sensory room layout that is appropriate for every autistic student.
One student may actively seek:
- Movement
- Pressure
- Bright visual effects
- Tactile input
- Repetitive activities
Another may avoid:
- Bright lights
- Unexpected sounds
- Fast movement
- Certain textures
- Crowded spaces
Some students experience both sensory seeking and sensory avoiding responses depending on the situation.
This is why sensory room equipment for autism should not be selected based on diagnosis alone.
School teams should consider each student's:
- Sensory preferences
- Communication abilities
- Mobility
- Motor skills
- Age
- Physical size
- Safety awareness
- Regulation strategies
- Support needs
Occupational therapists, physical therapists, special education teachers, speech professionals, caregivers, and other members of the student's educational team may all provide useful insight.
Start With the Purpose of the Sensory Room
Before purchasing equipment, determine what the room is intended to accomplish.
Ask:
- Will students use the room for quiet sensory breaks?
- Will movement activities be included?
- Will occupational therapy take place there?
- Will students use the room before challenging transitions?
- Will it support individual students or small groups?
- Will students use it independently or with staff?
- Will the room support fine motor activities?
- Is communication equipment needed?
- Will students using wheelchairs need access?
- How often will the room be used?
A sensory room intended mainly for calming may look very different from a sensory motor room designed for active movement.
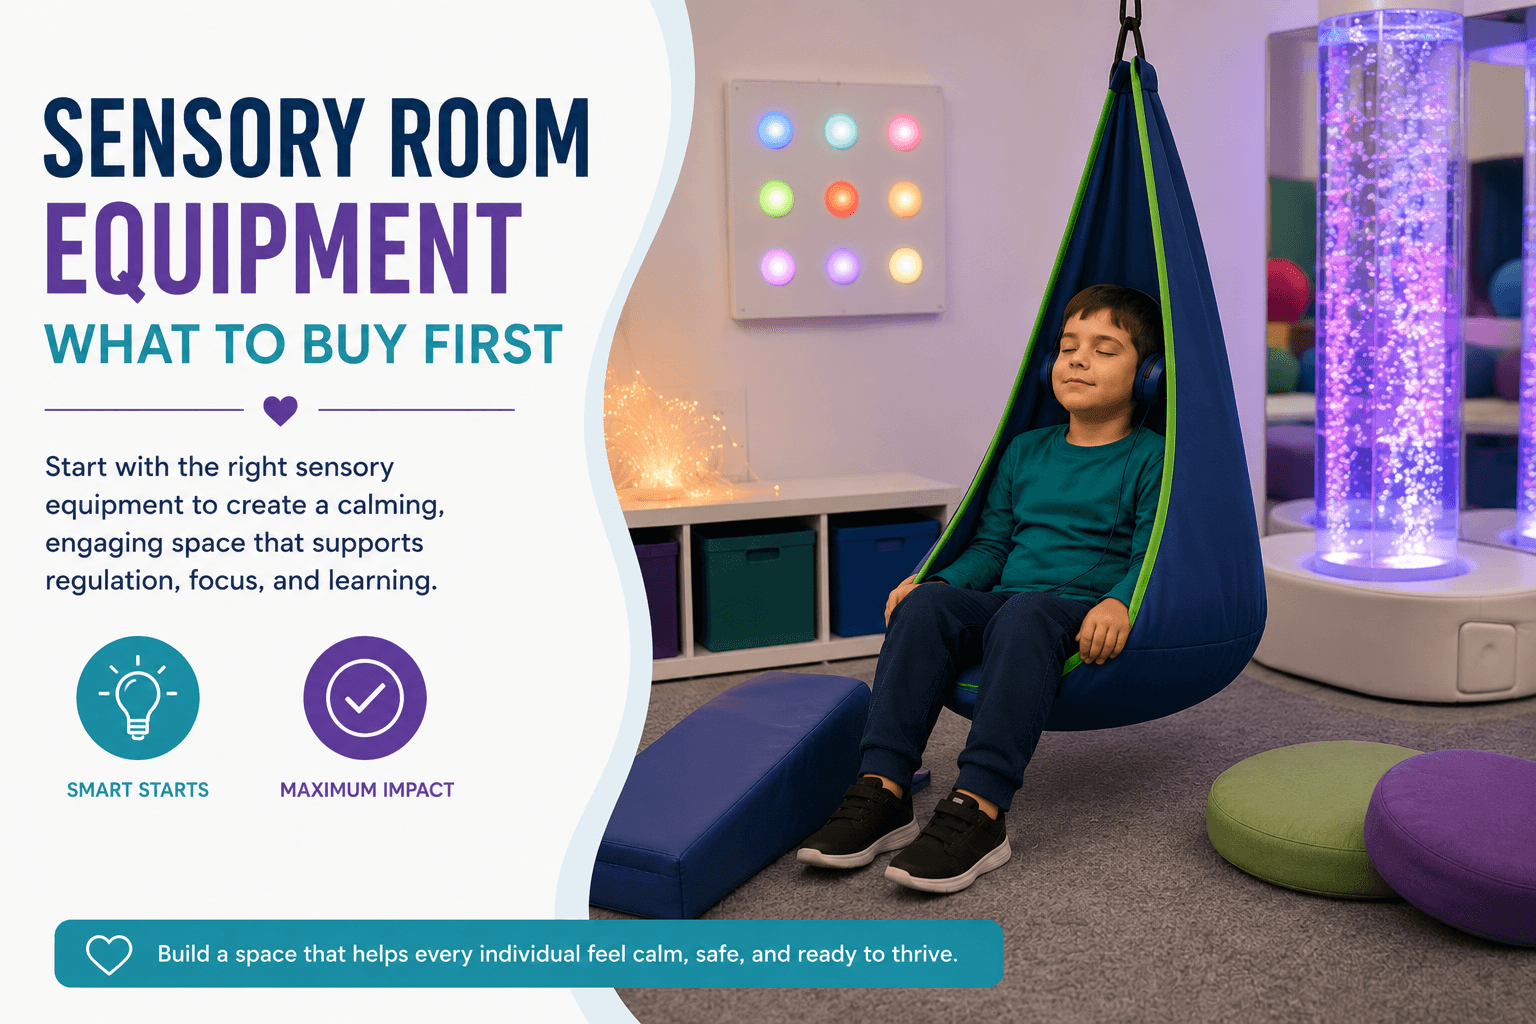
Schools still in the planning stage may find Sensory Room Products: What to Buy First useful when prioritizing initial purchases.
Create Separate Sensory Zones
Dividing the room into functional areas can make sensory room design more predictable and safer.
A school sensory room might include:
- A calming area
- A movement area
- A tactile and fine motor area
- A visual sensory area
- A communication and transition area
The zones do not necessarily require physical walls. Furniture placement, floor mats, lighting, shelving, or visual boundaries can help students understand how different parts of the room are used.
Design a Quiet Calming Zone
A quiet area can provide a lower stimulation option for students who need a break from noise, classroom activity, or social demands.
Possible equipment includes:
- Bean bags
- Floor cushions
- Supportive sensory seating
- Weighted lap products
- Quiet tactile tools
- Noise reducing headphones
- Visual timers
- Soft lighting
Keep this part of the room visually simple.
Too many posters, toys, lights, and brightly colored objects may defeat the purpose of creating a quieter environment.
For schools that do not have room for a complete sensory room, similar principles can be applied to a smaller space using ideas from Designing Sensory Calm Corners for Autism, ADHD, and Emotional Regulation.
Use Lighting Carefully
Lighting can dramatically change how a sensory room feels.
Standard fluorescent lighting may be uncomfortable for some students, while other students may actively enjoy colorful visual effects.
Consider providing several lighting options rather than one permanent setting.
Possible choices include:
- Dimmable room lighting
- Bubble tubes
- Fiber optic lighting
- Projectors
- Color changing sensory lights
- Interactive visual equipment
Explore Bubble Tubes for visual sensory equipment commonly used in school and therapy environments.
The key is student control whenever appropriate.
A sensory feature that cannot be turned off can become another source of overstimulation.
Bubble Tubes as a Visual Focal Point
A bubble tube can create a clear visual destination within a school sensory room.
The combination of light, color, bubbles, and repetitive movement can provide visual engagement without requiring a complex activity.
Bubble tubes may work especially well in the quieter part of the room when:
- The unit is securely positioned
- Students cannot climb on it
- Electrical connections are inaccessible
- Enough space is left around the equipment
- Staff supervise use as appropriate
Avoid placing delicate visual equipment next to crash pads, swings, or active movement areas.
Add a Movement Zone for Sensory Seeking Students
Some autistic students seek significant amounts of movement.
A dedicated movement area may include appropriately selected:
- Sensory swings
- Therapy balls
- Balance equipment
- Crash pads
- Rocking equipment
- Crawling equipment
- Soft play products
- Stepping activities
Explore Adaptive Swings and Sensory Gyms for movement equipment that may be appropriate for school sensory spaces.
Movement activities can provide vestibular and proprioceptive input, but they require careful planning.
Not every student should use every type of movement equipment.
Intensity, duration, positioning, supervision, and individual tolerance all matter.
Keep Movement Equipment Away From Calming Equipment
One of the most important layout decisions is separating active and quiet areas.
A student using a swing should not pass directly over or beside another student quietly watching a bubble tube.
Crash activities should not occur next to fragile equipment.
Create enough open floor space around movement products so students and staff can move safely.
If the room is too small to safely accommodate both active and quiet equipment, consider prioritizing one purpose rather than overcrowding the room.
The article 8 School Sensory Room Safety Factors to Know provides additional planning considerations for schools.
Include Proprioceptive Activities
Proprioceptive input comes from muscles and joints during activities involving pushing, pulling, resistance, carrying, and pressure.
Depending on student needs, a school sensory room may provide opportunities through:
- Crash pads
- Therapy balls
- Resistance activities
- Soft play equipment
- Crawling
- Pushing activities
- Appropriate weighted products
These activities should be chosen according to the student's abilities and used according to product instructions and professional recommendations when applicable.
Avoid assuming that a weighted or pressure based product will automatically calm every student.
Create a Tactile Exploration Area
Touch based activities can provide quieter sensory engagement.
A tactile area might include:
- Textured panels
- Putty
- Manipulatives
- Sensory boards
- Fidgets
- Fabric textures
- Large interactive wall activities
Wall mounted activities can be particularly valuable in smaller sensory rooms because they provide engagement without using much floor space.
Browse Sensory Wall Panels for interactive tactile, visual, and fine motor options.
Use Sensory Wall Panels to Save Space
Sensory wall panels may support:
- Reaching
- Fine motor skills
- Hand eye coordination
- Bilateral hand use
- Cause and effect exploration
- Tactile engagement
- Visual tracking
They can also help define a specific activity area within the room.
Mount panels at heights that are accessible to the intended students, including students who participate from seated positions.
Avoid placing wall activities so high that younger students need to climb or stretch excessively.
Think About Auditory Sensitivity
School environments can already be noisy.
A sensory room designed for autism support should not automatically add music, bells, sound effects, and electronic audio.
For some students, quiet may be one of the most valuable features of the room.
Consider:
- Noise reducing headphones
- Sound absorbing furnishings
- Quiet equipment
- Soft closing storage
- Volume controls
- Optional rather than continuous music
If sound equipment is included, students should have a way to avoid it.
Avoid Sensory Overload Through Visual Clutter
A common sensory room design mistake is trying to fill every wall and corner.
More sensory equipment does not necessarily create a better sensory room.
A room containing flashing lights, bright wall graphics, several moving objects, music, tactile panels, and active movement equipment all operating simultaneously may become overwhelming.
Instead, use visual simplicity.
Consider:
- Neutral wall areas
- Clearly defined zones
- Organized storage
- Limited equipment on display
- Adjustable lighting
- Space between activities
The room should communicate choice rather than sensory intensity.
Make Student Choice Part of the Design
A sensory room can become more useful when students can make appropriate choices about what they use.
For students who communicate visually or through AAC, choices might be presented through:
- Picture symbols
- Communication boards
- AAC devices
- First and then boards
- Visual menus
- Choice cards
For example, a student might choose between:
- Quiet seat
- Swing
- Bubble tube
- Wall panel
- Headphones
Explore AAC and Communication for additional communication supports.
Choice can help prevent the sensory room from becoming something that is simply done to a student.
Plan for Students Who Use AAC
Communication equipment should remain available inside the sensory room.
Do not require a student to leave an AAC device outside because the room is intended for sensory activities.
Students may need to communicate:
- More
- Stop
- Finished
- Too loud
- Too bright
- Swing
- Break
- Help
- Different activity
Access to communication is especially important when students are interacting with sensory input that may become uncomfortable.
Make the Sensory Room Wheelchair Accessible
Accessibility should be considered before equipment is placed.
School teams should think about:
- Door width
- Clear travel paths
- Turning space
- Reach height
- Transfer areas
- Accessible seating
- Floor transitions
- Placement of wall panels
- Access to interactive controls
Do not allow floor cushions, therapy balls, cords, or loose sensory tools to block wheelchair pathways.
Accessible sensory room design should allow students with mobility differences to actively participate rather than simply observe.
Plan for Safe Sensory Swing Installation
Sensory swings require more than choosing a swing.
Schools must also consider:
- Suspension hardware
- Ceiling structure
- Manufacturer requirements
- Weight capacity
- Fall protection
- Clearance around the swing
- Inspection schedules
- Staff supervision
Do not attach sensory swings to building structures that have not been confirmed appropriate for that purpose.
Professional installation may be necessary.
Protective matting should also be considered based on the equipment and intended activities.
Choose Flooring Based on the Activity
Different sensory zones may require different flooring.
Quiet areas may benefit from comfortable surfaces, while active movement areas may need protective mats.
Consider:
- Impact protection
- Trip hazards
- Wheelchair mobility
- Cleaning
- Durability
- Equipment stability
Avoid creating raised edges between surfaces that unnecessarily interfere with mobility.
Do Not Use the Sensory Room as Punishment
A sensory room should remain a supportive resource.
Students should not learn that going to the sensory room means they are in trouble.
When possible, sensory breaks should be incorporated into routines in ways that preserve dignity and predictability.
Depending on the student, the room might be used:
- At scheduled times
- Before difficult transitions
- After noisy activities
- During a planned movement break
- When the student appropriately requests access
- As part of therapy
The purpose should be clear to both students and staff.
Use Visual Schedules and Timers
Students may need help understanding:
- When they can enter
- What activities are available
- How long they will stay
- What happens afterward
A simple routine might be:
- Enter sensory room
- Choose an activity
- Complete sensory break
- Check timer
- Put equipment away
- Return to class
Visual schedules can make transitions into and out of the room more predictable.
Create a Consistent Exit Routine
Leaving a preferred sensory environment can be difficult for some students.
Rather than ending the session unexpectedly, consider using:
- Visual timers
- Countdown warnings
- First and then supports
- Consistent cleanup routines
- Transition objects
- Visual schedules
The return to class should be considered part of the sensory room plan, not an afterthought.
Build Storage Into the Room Design
Smaller sensory tools can quickly create clutter.
Use organized storage for:
- Fidgets
- Weighted lap products
- Therapy balls
- Fine motor activities
- Headphones
- Communication supports
- Cleaning supplies
Labeling bins with words and pictures can also help students participate in cleanup.
Equipment that is not appropriate for independent use should be stored where students cannot access it without staff assistance.
Create Clear Sensory Room Rules
School sensory room rules should be simple and consistent.
Examples may include:
- Use equipment the safe way
- Ask before using the swing
- Take turns
- Keep the walkway clear
- Stop when something feels uncomfortable
- Put equipment away
- Follow the timer
- Tell an adult when you need help
Picture based rules may be more accessible for students who do not read conventional text.
Develop a Supervision Plan
Simply assigning a room as a sensory space is not enough.
Schools should determine:
- Which staff members supervise the room
- Which equipment requires direct supervision
- How many students may enter at once
- Whether students can use the room independently
- How staff document damaged equipment
- How emergencies are handled
- Who is responsible for inspection
Staff should understand how each piece of equipment is intended to be used.
Consider Cleaning and Shared Use
School sensory rooms may be used by many students every day.
Choose equipment that can reasonably be cleaned and maintained in a shared environment.
Frequently touched items may include:
- Wall panels
- Switches
- Fidgets
- Seating
- Therapy balls
- Headphones
- Mats
- Interactive controls
Follow manufacturer cleaning recommendations so products are not damaged by inappropriate cleaners.
Inspect Sensory Equipment Regularly
Routine inspections should include:
- Loose hardware
- Damaged upholstery
- Cracks
- Frayed ropes
- Worn suspension equipment
- Broken switches
- Exposed wiring
- Loose wall panels
- Damaged mats
- Unstable furniture
Equipment that appears unsafe should be removed from use until it is repaired or replaced.
Include Occupational Therapy Input When Appropriate
Occupational therapists can help school teams understand how students respond to sensory input and how equipment may fit into existing educational or therapy goals.
An OT may provide insight into:
- Vestibular input
- Proprioceptive activities
- Tactile preferences
- Fine motor needs
- Positioning
- Sensory seeking
- Sensory avoidance
- Equipment selection
A sensory room should complement individualized support rather than replace occupational therapy or other services when those services are needed.
Design for More Than One Student Profile
Shared school sensory rooms often serve students with very different preferences.
A flexible room might provide:
For students seeking movement
- Swings
- Therapy balls
- Crash activities
- Balance equipment
For students seeking quieter input
- Soft seating
- Noise reduction
- Bubble tubes
- Gentle visual equipment
For students seeking tactile input
- Sensory wall panels
- Textures
- Putty
- Manipulatives
For students who become overwhelmed easily
- Reduced lighting
- Quiet areas
- Minimal visual clutter
- Predictable routines
The goal is variety without chaos.
Sensory Room Design on a School Budget
A useful sensory room does not have to be completed all at once.
Begin with the needs that occur most often.
A starter school sensory room might include:
- One comfortable seating option
- A small collection of tactile tools
- One visual sensory feature
- One movement option
- Protective flooring where needed
- Noise reduction
- Visual timer
- Organized storage
Larger equipment can be added after staff observe how students use the space.
For additional ideas, read How to Build a School Sensory Room on a Budget.
Ready Made Sensory Room Packages for Schools
Schools planning an entire room may prefer coordinated packages rather than selecting every item individually.
Sensory Room Packages can simplify planning by bringing together complementary sensory equipment.
A package should still be evaluated according to:
- Student population
- Room dimensions
- Mobility needs
- Available supervision
- Sensory goals
- Equipment clearances
- Budget
A package should fit the school. The school should not redesign its sensory program simply to fit a package.
Common School Sensory Room Design Mistakes
Some common mistakes can make a sensory room less useful or less safe.
Buying Equipment Before Planning the Layout
Large equipment can quickly consume a small room.
Measure first and create a basic floor plan before ordering.
Adding Too Much Stimulation
More lights, sounds, textures, and movement do not necessarily create better sensory support.
Ignoring Accessibility
A sensory room is not inclusive if students cannot enter, maneuver, reach activities, or use equipment.
Putting Quiet and Active Equipment Together
Separate movement areas from fragile visual and calming equipment.
Failing to Plan for Storage
Loose equipment eventually becomes clutter if it does not have a designated location.
Treating Every Autistic Student the Same
Autism does not define a single sensory profile.
Observe individual responses and adjust accordingly.
Forgetting Staff Training
Even well designed equipment may be used incorrectly if staff do not understand its purpose or safety requirements.
Sensory Room vs. Calm Corner for Autism Support
Not every school needs a dedicated sensory room.
A sensory calm corner may be sufficient when a student primarily needs brief access to quieter seating, tactile tools, headphones, visual supports, or other simple regulation options.
A dedicated sensory room may provide more flexibility for:
- Movement equipment
- Occupational therapy
- Larger visual equipment
- Multiple sensory zones
- Small group use
- Specialized sensory products
Schools can use both approaches.
A classroom calm corner provides immediate access, while a separate sensory room can accommodate equipment that would not be practical inside the classroom.
How to Plan a School Sensory Room Step by Step
A practical planning process might look like this:
Step 1: Identify the Students
Determine who will use the room and what types of support they may need.
Step 2: Define the Main Goals
Decide whether the room should primarily support calming, movement, sensory exploration, therapy, transitions, or a combination.
Step 3: Measure the Space
Record room dimensions, ceiling height, doors, outlets, windows, and accessibility requirements.
Step 4: Create Zones
Separate quiet activities from active movement.
Step 5: Select Core Equipment
Choose a smaller number of purposeful products instead of filling the room immediately.
Step 6: Address Safety
Review mounting, flooring, clearances, electrical access, weight capacities, and supervision.
Step 7: Add Communication Supports
Include AAC access, visual schedules, timers, and student choice.
Step 8: Create Staff Procedures
Establish rules for scheduling, supervision, inspection, cleaning, and equipment use.
Step 9: Observe Student Responses
Notice which areas students choose, avoid, enjoy, or find overwhelming.
Step 10: Adjust the Room
A sensory room should evolve as student needs become clearer.
Shop School Sensory Room Equipment at eSpecial Needs
eSpecial Needs offers sensory equipment for schools, special education programs, therapy spaces, and autism support environments.
Explore:
- Sensory Room Equipment
- Sensory Room Packages
- Sensory Wall Panels
- Bubble Tubes
- Adaptive Swings and Sensory Gyms
- Sensory Development
Schools can also use the Schools and Government Agencies resource page for information relevant to institutional purchasing.
FAQs
What should schools consider before choosing a room for a sensory space?
Start with the physical environment. Consider room size, ceiling height, electrical outlets, lighting, ventilation, door placement, accessibility, noise from nearby classrooms, and whether staff can supervise the space effectively.
A quiet room beside a gym or cafeteria may still receive significant noise, so location can matter as much as room size.
Is a windowless room appropriate for a school sensory room?
It can be, provided the room has appropriate ventilation, safe lighting, and meets school facility requirements. Some students may prefer reduced outside distractions, while others may be more comfortable with natural light.
Adjustable lighting generally provides more flexibility than relying on one fixed lighting condition.
Should a sensory room have fluorescent lights?
Not necessarily. Some students may find fluorescent lighting uncomfortable or distracting.
Schools may want to consider dimmable lighting, indirect lighting, or other adjustable options that allow the environment to be changed based on student preferences.
How should schools organize sensory room equipment by purpose?
Grouping equipment by function can make the room easier to understand and supervise.
Possible categories include:
- Quiet seating
- Movement
- Tactile exploration
- Visual stimulation
- Fine motor activities
- Communication
- Transition supports
Clear organization can also help staff select activities intentionally rather than randomly.
How can schools reduce visual clutter in a sensory room?
Use closed storage, limit wall decorations, leave open wall space, and display only the equipment currently in use.
A sensory room does not need to look visually busy to be engaging.