Table of Contents
- Key Takeaways: The Complete Guide to Choosing Sensory Room Equipment for Different School Needs
- What Is School Sensory Room Equipment and Why Does It Matter?
- Who Benefits from a School Sensory Room?
- How to Assess Your School's Sensory Room Needs
- Three Types of Sensory Room Configurations for Schools
- Essential Sensory Room Equipment Categories
- How to Match School Sensory Room Equipment to Specific Student Needs
- Safety Considerations for School Sensory Room Equipment
- How to Plan Your Sensory Room Layout
- Budgeting and Phased Implementation for Schools
- How to Create and Follow a Sensory Room Protocol
- Common Mistakes to Avoid When Setting Up School Sensory Room Equipment
- Choosing School Sensory Room Equipment That Truly Supports Your Students
- FAQs
A school sensory room can be the difference between a student melting down and a student who returns to class ready to learn. For occupational therapists, special education coordinators, and school administrators across the U.S. and Canada, designing one of these rooms means making dozens of equipment decisions with real consequences for student outcomes. eSpecial Needs offers school sensory room equipment specifically built for school settings, along with free design consultations to help your team plan the right space. This guide walks you through every step of choosing equipment that fits your students, your space, and your budget.
You will learn how to identify student needs, compare equipment categories, plan room layouts, address safety requirements, and build a sensory room your school can sustain for years to come.
Key Takeaways: The Complete Guide to Choosing Sensory Room Equipment for Different School Needs
- Matching equipment to specific sensory profiles matters more than filling a room with every product available.
- Active, calming, and hybrid room configurations each serve different student populations and therapeutic goals.
- eSpecial Needs offers free sensory room design services that help school teams plan layouts tailored to their space.
- Safety standards, ADA compliance, and staff training are required before any sensory room opens its doors.
- Starting with a few core items and expanding over time is a practical approach to budget and space limitations.
Giant Budget Ball Pit
$1,718.95
$1,935.00
The Giant Budget Ball Pit is a durable, large-format ball pit designed for sensory play, active movement, and therapy use in homes, schools, clinics, and care settings. It offers the size and function of a larger recreational ball pit for… read more

What Is School Sensory Room Equipment and Why Does It Matter?
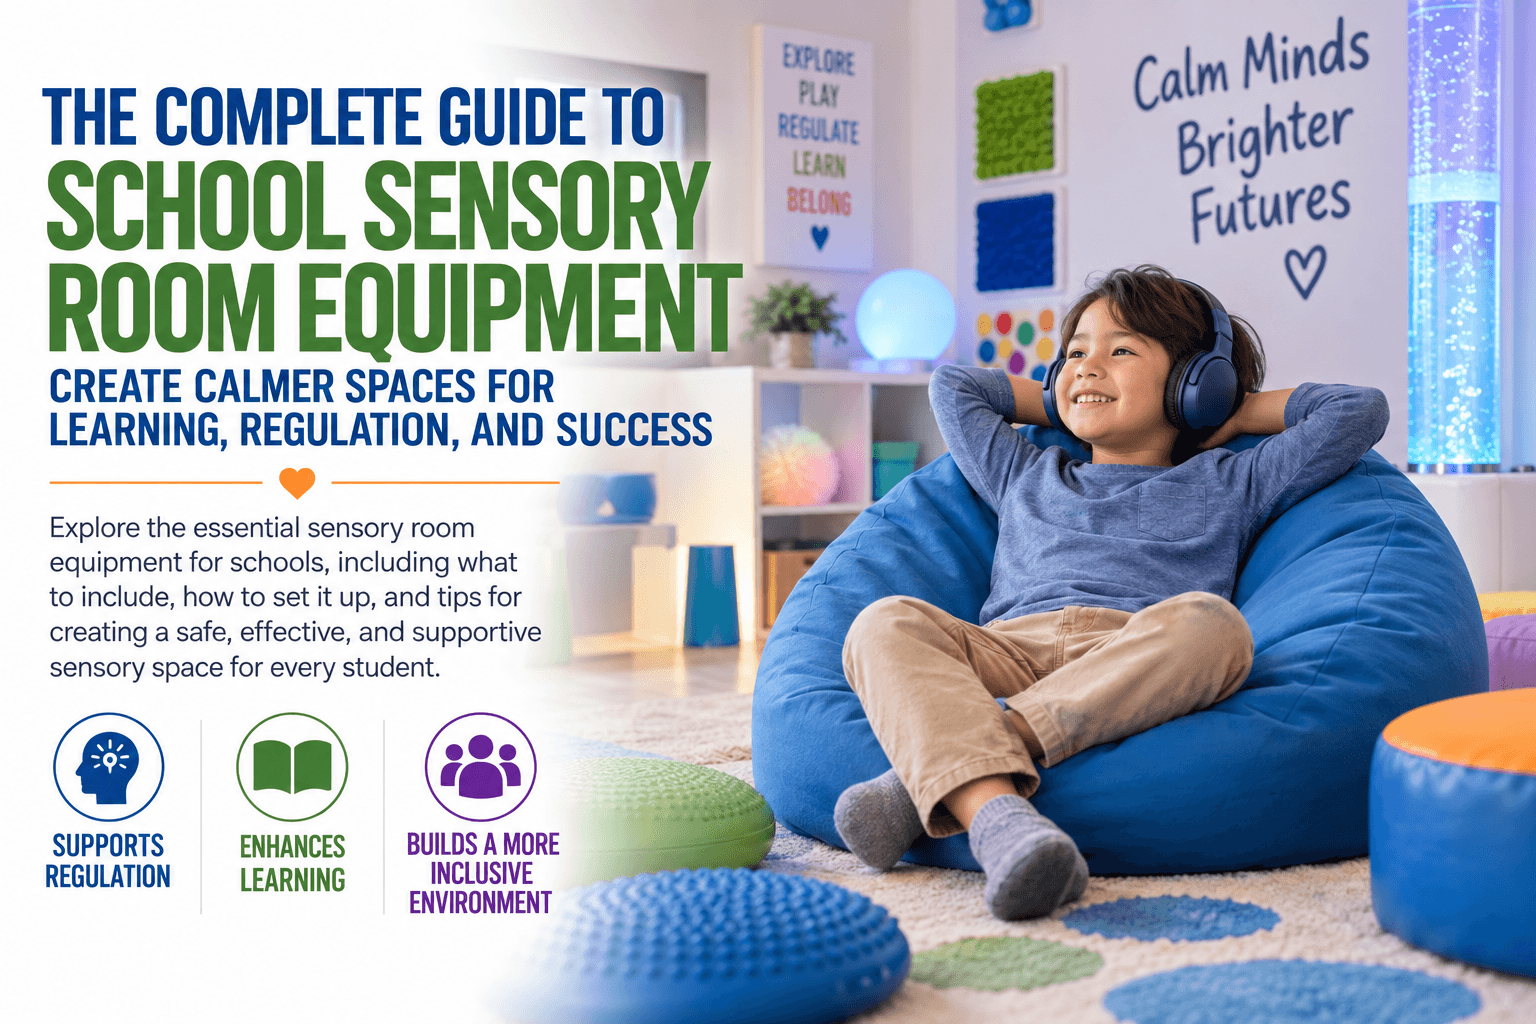
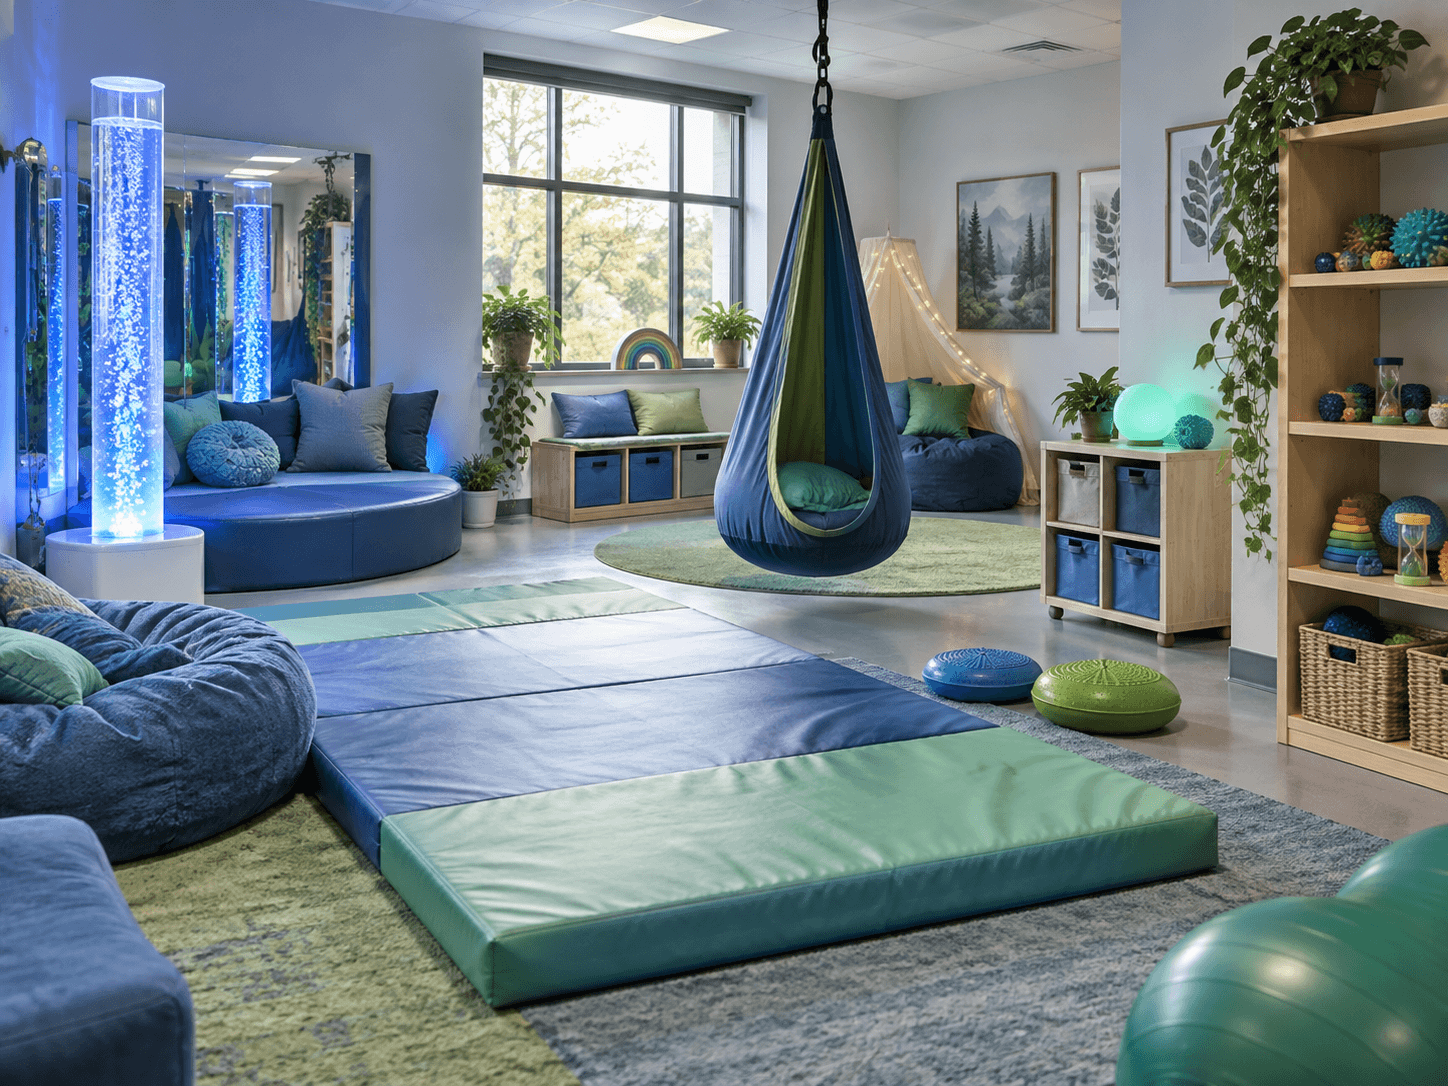
School sensory room equipment is for a dedicated space filled with specialized equipment that delivers controlled visual, auditory, tactile, vestibular, and proprioceptive input. The goal is to help students regulate their nervous systems so they can return to the classroom calm, focused, and ready to engage.
Students with autism, sensory processing differences, ADHD, anxiety, and emotional regulation challenges often benefit from scheduled time in these rooms. A 2026 case study published in Frontiers in Psychiatry found that autistic students who used a multisensory environment during structured mid-morning breaks showed reductions in challenging behaviors and improved classroom engagement.
School sensory room equipment also supports inclusion efforts. General education students are often highly motivated to participate in activities inside sensory rooms, which creates natural opportunities for peer interaction and shared learning experiences.
Who Benefits from a School Sensory Room?
The short answer: more students than you might expect. Sensory rooms were originally designed for students with autism and sensory processing disorders, but the benefits extend well beyond those populations.
Students who are recovering from emotional meltdowns, dealing with anxiety, or experiencing sensory overload from a loud cafeteria or crowded hallway can all benefit from a well-designed sensory space. Occupational therapists also use these rooms for structured sensory integration therapy sessions that target specific IEP goals.
School staff benefit too. When students have a safe space to decompress, classrooms become calmer, and teachers spend less time managing crises and more time teaching.
How to Assess Your School's Sensory Room Needs
Before ordering any equipment, you need clear answers to a few critical questions. Skipping this assessment step is one of the most common mistakes schools make.
Identify Who Will Use the Room
Start by documenting the ages, cognitive abilities, mobility levels, and specific sensory profiles of the students who will access the room. A room designed for elementary students with high sensory-craving behaviors looks very different from one serving middle schoolers who need calming input.
Work with your OT or therapist team to review IEPs and sensory assessments. Tools such as the Short Sensory Profile can help you categorize students into hypo-responsive, hyper-responsive, and sensory-craving groups, which directly informs equipment selection.
Define the Room's Purpose
Will the room function as a calming space, an active sensory gym, a therapy room, or a combination? A de-escalation room for crisis situations needs different equipment than a room used for scheduled sensory diet breaks throughout the day.
Many schools find that a hybrid design works well. This setup combines a calming zone with active elements, so students can move through different types of input during a single session.
Evaluate the Physical Space
Measure your room carefully. Check ceiling height for swing installations, locate electrical outlets for powered equipment, note window placement for darkening, and confirm that flooring can support heavy items. A school hallway closet requires a very different approach than a dedicated classroom-sized room.
Three Types of Sensory Room Configurations for Schools
Understanding the three primary room types helps you narrow your equipment list quickly. Each configuration supports different student needs and therapy approaches.
Active Sensory Rooms
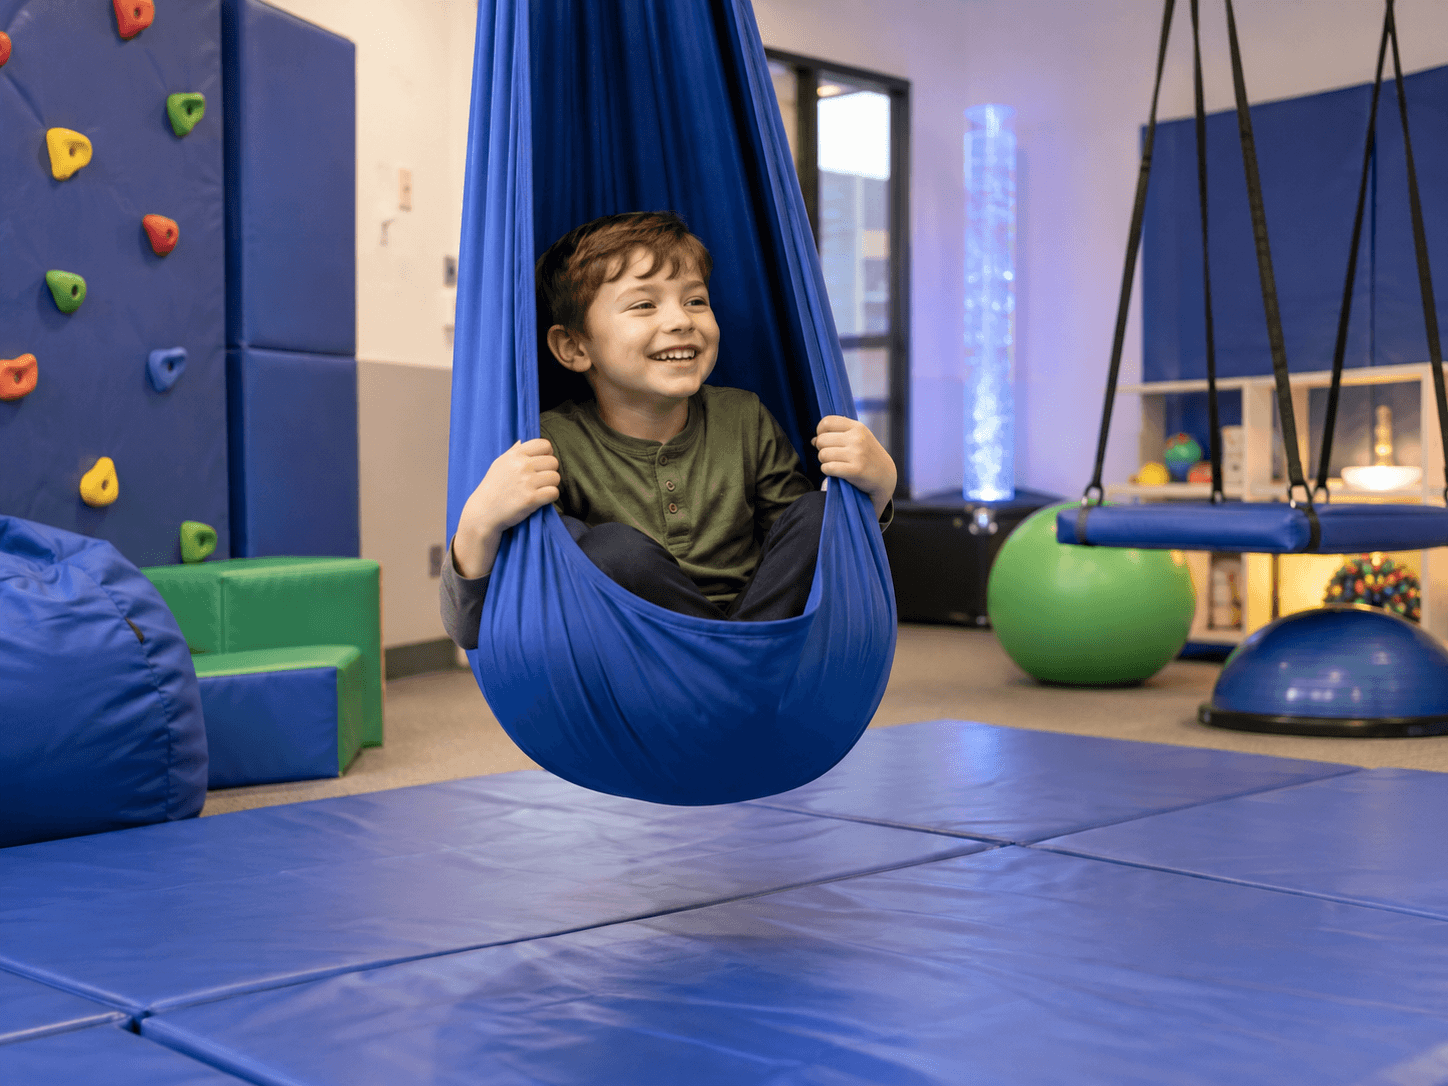
Active rooms focus on proprioceptive and vestibular input. These rooms are ideal for students who are under-aroused and need movement to regulate. Equipment typically includes therapy swings, climbing walls, balance beams, trampolines, and scooter boards.
Movement activities in active rooms help students improve motor planning, body awareness, and self-regulation. After an active session, many students are better able to sit still and focus during academic work.
Calming Sensory Rooms
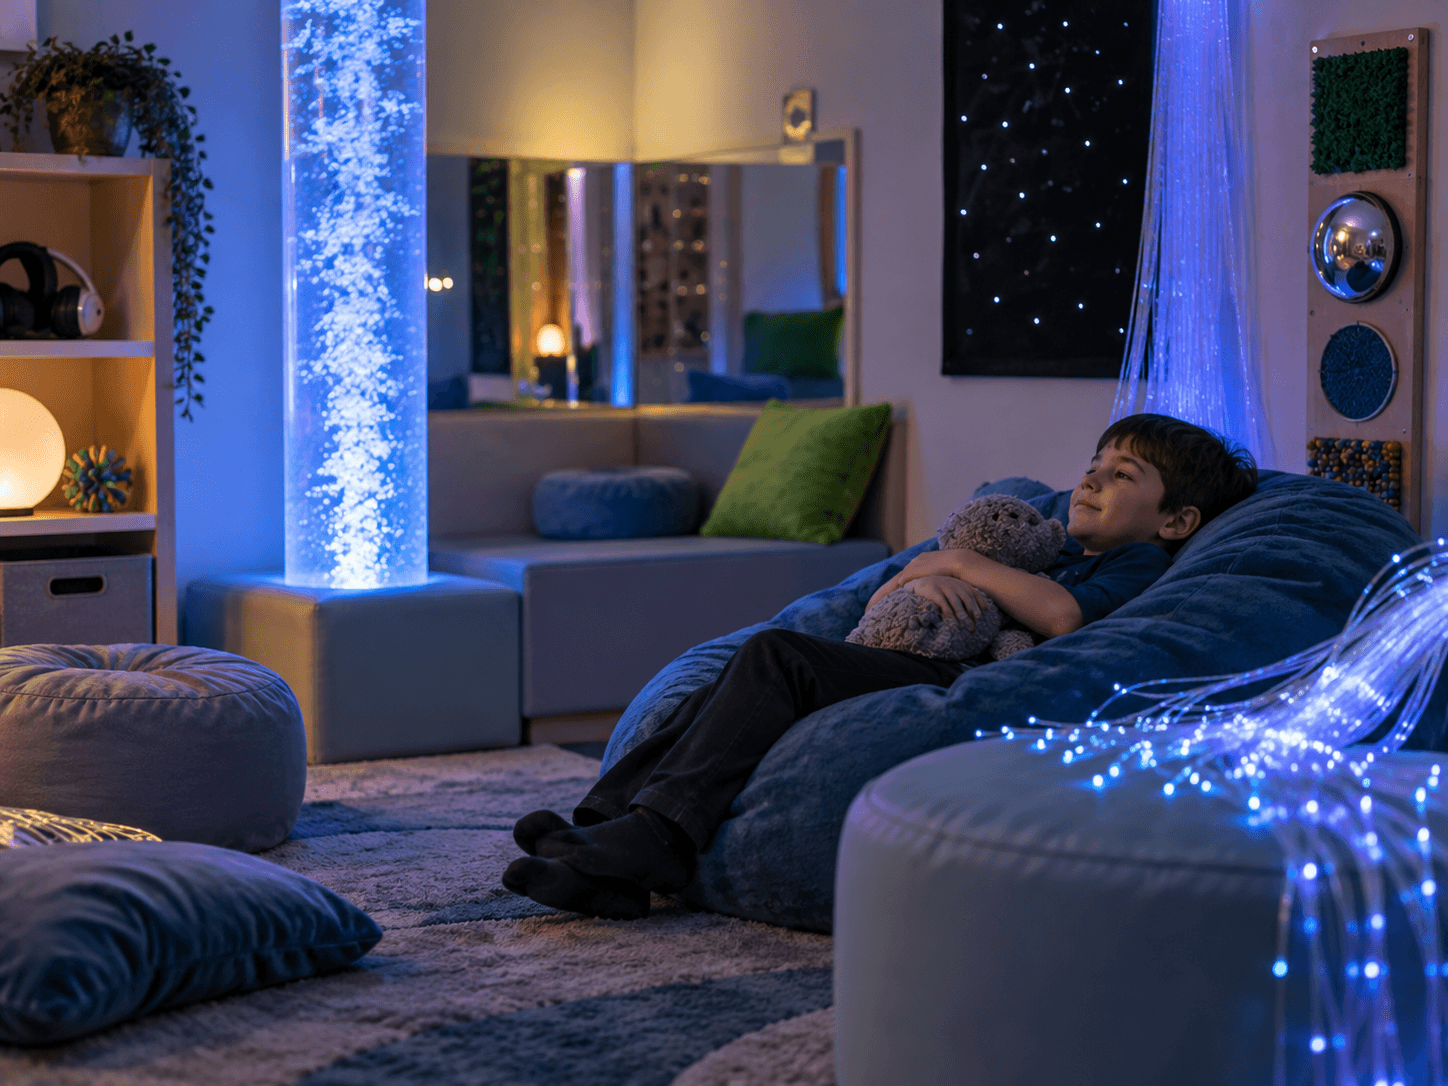
Calming rooms reduce stimulation and deliver gentle, soothing input. They work especially well for students who are easily overstimulated and need a break from the demands of the school day. Typical equipment includes bubble tubes, fiber optic lights, projectors, weighted blankets, and soft seating.
Deep-pressure items like weighted lap pads and vibro-acoustic furniture send calming signals to the brain. Rhythmic visual elements like slowly rotating projector images give students a focal point for grounding and relaxation.
Hybrid Sensory Rooms
Hybrid rooms combine active and calming elements in separate zones. Students often start in the active area and then transition to the calming zone before returning to class. This approach works well for schools serving students with a wide range of sensory needs.
eSpecial Needs designs sensory room packages that include both active and calming components, so you can set up a hybrid room with a coordinated set of equipment rather than sourcing each piece individually.
Essential Sensory Room Equipment Categories
Every sensory room, regardless of type, draws from a core set of equipment categories. Here is what to consider in each area.
Visual Equipment
Visual tools create focal points and set the room's atmosphere. Bubble tubes with color-changing LEDs are among the most popular choices in school sensory rooms. Placed in a corner with mirrors, a single bubble tube can create an immersive visual experience.
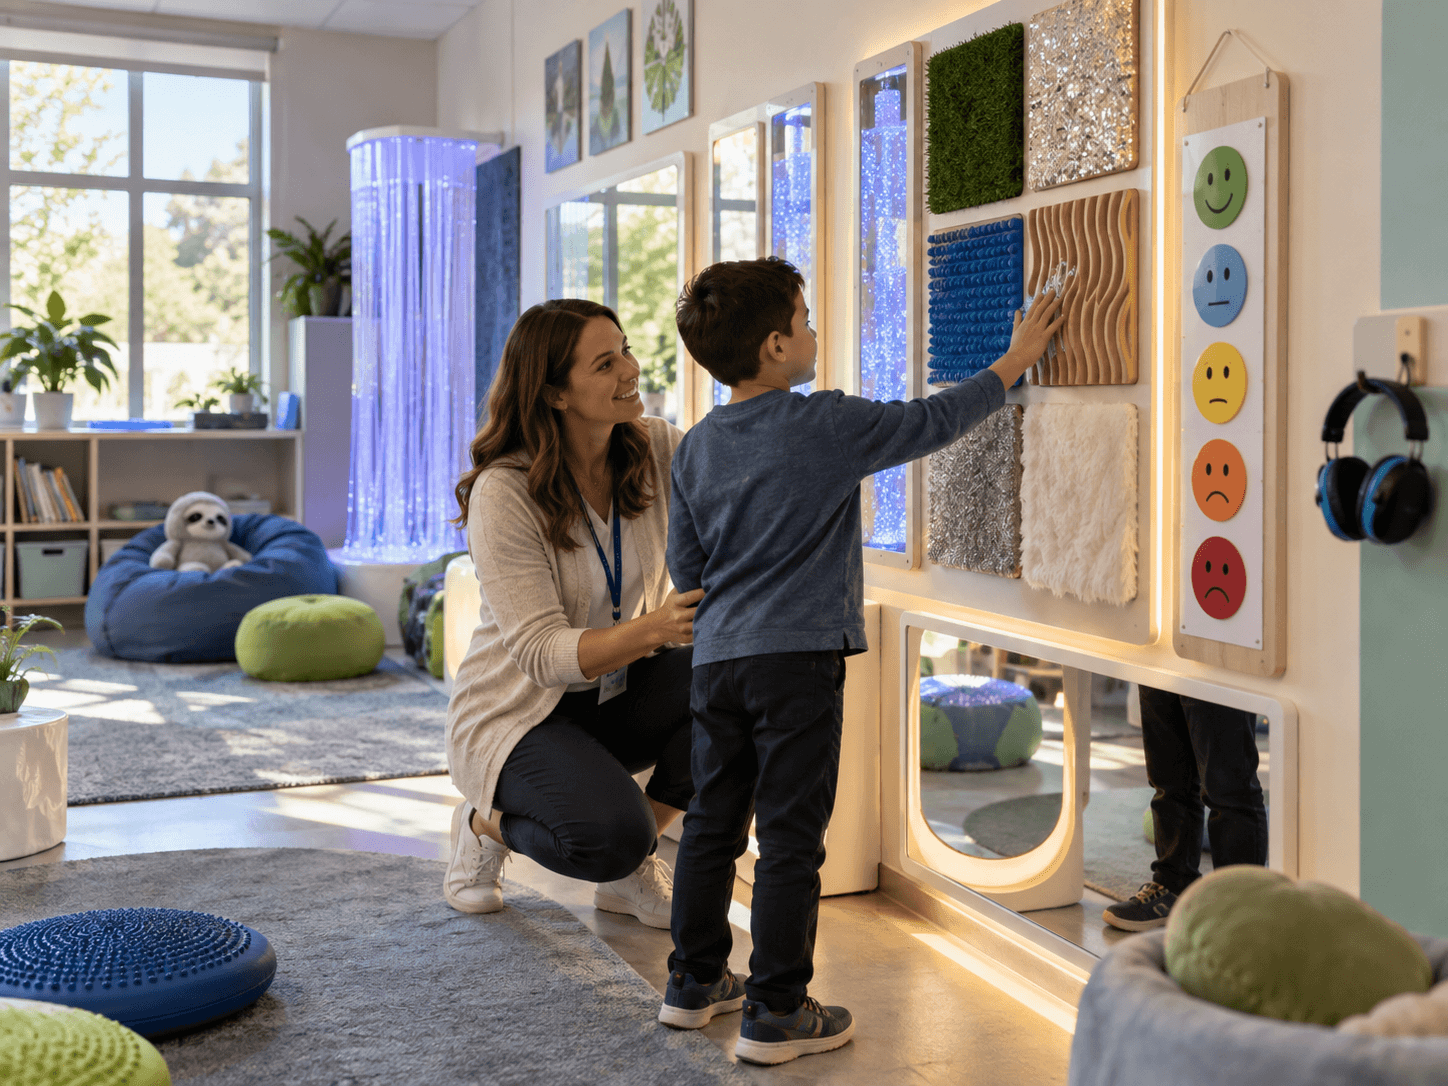
Projectors with rotator wheels project slow-moving images across walls and ceilings. They allow staff to change the room's theme quickly by swapping image wheels. Interactive wall panels and sensory wall panels add another layer of visual and tactile engagement.
Auditory Equipment
Sound plays a major role in sensory regulation. Bluetooth speakers with calming nature sounds or instrumental music can set the mood instantly. Interactive sound panels let students control what they hear, which builds a sense of agency and reduces anxiety.
Keep in mind that some students are highly sensitive to sound. Always include a way to lower volume or mute audio completely, and consider noise-attenuating headphones as a room accessory.
Tactile Equipment
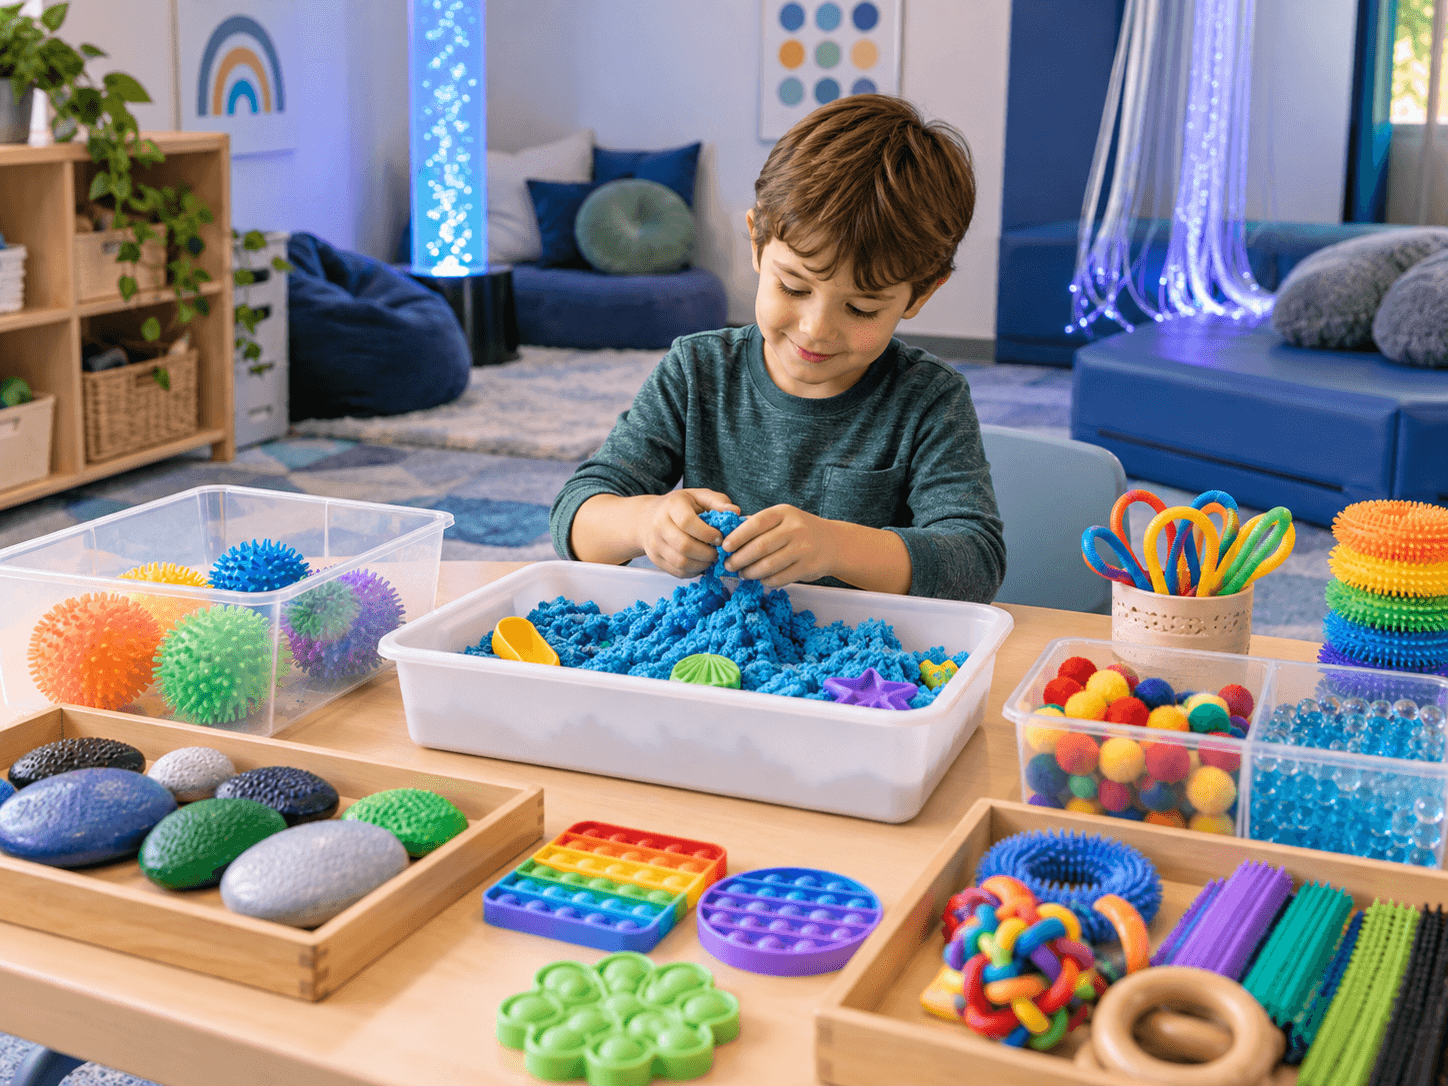
Tactile input includes anything students can touch, squeeze, press, or hold. Textured wall panels, fidget tools, sand trays, and kinetic sand are common choices. For deeper tactile input, weighted blankets and compression vests deliver calming pressure.
Vibro-acoustic furniture adds another dimension by combining sound vibrations with physical contact. Students sit or lie on the surface and feel low-frequency sound waves through their body, which many find deeply calming.
Vestibular and Proprioceptive Equipment
Swings, rockers, and spinning equipment deliver vestibular input that helps students organize their sensory systems. Therapy swings come in many styles: platform swings for group use, cocoon swings for calming, and bolster swings for core strengthening.
Proprioceptive equipment includes body socks, crash pads, and resistance tunnels. These items activate the joints and muscles in ways that produce a grounding, organizing effect. Climbing walls and therapy ball stations are also popular choices for schools with larger rooms.
Seating and Positioning
Seating matters more than many schools realize. Bean bag chairs, adaptive classroom seating, and floor cushions give students a comfortable base for sensory activities. Rocking chairs deliver gentle vestibular input while students engage with visual or auditory elements.
For students who need positioning support, specialized seats with harnesses or lateral supports keep them safe and properly aligned during therapy activities.
How to Match School Sensory Room Equipment to Specific Student Needs
The most effective sensory rooms are not the ones with the most equipment. They are the ones where every piece of equipment maps to a specific student need or therapeutic goal.
Equipment for Students Who Crave Sensory Input
Students who crave sensory input need intense, varied input. Therapy swings, trampolines, climbing structures, and crash pads give them the deep pressure and movement their nervous systems crave. Interactive floor projectors add a cognitive engagement layer on top of gross motor activity.
Equipment for Sensory Avoiders
Students who are sensory avoiders need low-stimulation, predictable environments. Soft lighting, gentle fiber optic strands, a quiet bubble tube corner, and a weighted blanket station create a safe retreat. Avoid placing loud or high-movement equipment near their designated zone.
Equipment for Students with Autism
Autistic students often have mixed sensory profiles that require careful assessment. Many benefit from equipment that offers personal control over sensory changes, such as switch-activated fiber optic lights or interactive panels with buttons. Research shows that when autistic students have control over sensory input in a multisensory environment, they display increased attention and reduced repetitive behaviors.
Equipment for Crisis and De-Escalation
Crisis spaces need to prioritize safety above everything else. Wall padding, soft flooring, minimal furniture, and muted lighting create a space where a student in distress cannot be hurt. Avoid breakable items, sharp edges, and equipment with small detachable parts.
Safety Considerations for School Sensory Room Equipment
Safety is not optional. Every sensory room should meet specific physical and procedural standards before students enter.
Physical Safety Requirements
Anchor all wall-mounted equipment to studs. Verify weight limits on swings and suspension hardware. Cover hard surfaces with protective padding. Ensure adequate spacing between equipment so students with mobility devices can move freely.
Check that all electrical cords are secured and out of reach. If you are using powered equipment like projectors or bubble tubes, position them near existing outlets to reduce extension cord hazards.
ADA Compliance and Accessibility
Your sensory room must be accessible to students using wheelchairs, walkers, and other mobility aids. This means wide doorways, clear floor paths, and equipment mounted at accessible heights. Consult the ADA Design Standards for specific dimensions and requirements.
If your room includes floor mats, choose firm, stable surfaces. Wall-to-wall soft mats create an unstable surface that can be difficult for students with mobility challenges to navigate independently.
Staff Training Is Non-Negotiable
Even the best equipment can cause harm when used incorrectly. Staff must understand how to operate every device in the room, how to respond if a student becomes distressed, and how to modulate the environment based on individual needs. One of the most common mistakes is turning on every piece of equipment at once, which can be deeply overstimulating.
eSpecial Needs offers free sensory room design consultations that include guidance on training and safe room operation, helping your team feel confident before the room opens.
How to Plan Your Sensory Room Layout
A well-planned layout separates active and calming zones, manages traffic flow, and leaves room for future additions. Here is a step-by-step approach.
Step 1: Sketch the Room Dimensions
Map your room on graph paper or a digital tool. Mark doors, windows, electrical outlets, ceiling height, and any structural obstacles. This drawing becomes your planning foundation.
Step 2: Define Zones
Divide the room into functional areas. A typical school sensory room might include a visual/calming zone near the far wall, an active/vestibular zone in the center, and a tactile/fine-motor zone along a side wall. Place transition areas between zones so students can move from active to calm gradually.
Step 3: Place Anchor Equipment First
Start with the largest, most permanent items: ceiling-mounted swings, bubble tube corners, and wall-mounted panels. These pieces dictate the flow of the rest of the room. Build smaller accessories around them.
Step 4: Address Lighting and Sound
Darken windows with blackout curtains or blinds if you are using visual projection equipment. Paint walls white so projected images appear clearly. Install dimmer switches to control overhead lighting independently from sensory equipment.
Step 5: Plan for Maintenance and Flexibility
Choose equipment that can be updated, rotated, or replaced. Students lose interest in static environments over time. Interactive floors, projectors with swappable image wheels, and modular furniture keep the room fresh and engaging.
Budgeting and Phased Implementation for Schools
Most school sensory rooms are not built all at once. A phased approach lets you spread costs across multiple budget cycles while getting students into the room sooner.
Phase 1: Core Equipment
Start with the items that will have the most immediate impact. A bubble tube with mirrors, a therapy swing, soft seating, and a projector form a solid foundation. This setup gives you visual, vestibular, and calming input in a single room. You can explore what to buy first for more specific guidance.
Phase 2: Expand and Customize
Add equipment based on data from Phase 1. Which students use the room most? What types of input do they request? Use this information to add tactile stations, interactive wall panels, or additional seating options.
Phase 3: Advanced Technology
Once your room is established, consider interactive floor projectors, augmented reality sandboxes, and wireless control systems that let staff adjust the entire environment from a tablet. These upgrades keep the room relevant and can address a wider range of student needs.
Funding Sources to Explore
School sensory rooms can be funded through IDEA grants, state special education allocations, PTO fundraising, local foundation grants, and corporate sponsorships. Funding resources for special needs equipment can help you identify specific opportunities.
How to Create and Follow a Sensory Room Protocol
A sensory room without a usage protocol is a room waiting for problems. Clear rules protect students, guide staff, and ensure the room is used therapeutically rather than as a reward or punishment.
Scheduling and Access
Determine who can refer students to the room, how sessions are scheduled, and how long each session lasts. Many schools schedule 15 to 30 minute sessions, with specific time slots assigned to individual students or small groups based on their IEPs.
Session Structure
A typical session follows a three-part structure: a brief warm-up with moderate input, a main activity aligned with the student's sensory needs, and a cool-down transition back to the classroom. Preparing students verbally for the end of the session reduces behavioral challenges during transitions.
Data Collection and Progress Tracking
Track which activities each student uses, how they respond, and whether their classroom behavior changes over time. This data supports IEP goal tracking, justifies continued investment in the room, and helps your OT team adjust sensory plans.
Common Mistakes to Avoid When Setting Up School Sensory Room Equipment
Even well-intentioned sensory rooms can fall short when schools skip key steps. Here are the most frequent pitfalls.
Turning on all school sensory room equipment at once is the biggest offender. A room buzzing with lights, sounds, and movement can overstimulate the very students it is designed to help. Train staff to activate only the equipment that matches each student's plan.
Choosing equipment based on appearance rather than therapeutic value is another common issue. A colorful room may look impressive in photos, but if the items do not map to student needs, they will not produce meaningful outcomes.
Forgetting to budget for installation and electrical work catches many schools off guard. Ceiling-mounted swings need structural support. Bubble tubes need water and power. Plan for these costs upfront.
Not planning for long-term engagement is a missed opportunity. Static rooms become boring. Choose equipment that can be updated, and rotate accessories regularly to keep students motivated.
Choosing School Sensory Room Equipment That Truly Supports Your Students
Building a school sensory room is an investment in student well-being, classroom calm, and inclusive education. The key is starting with a clear picture of who will use the room and what they need, then selecting equipment that directly supports those goals.
You do not need to figure it all out alone. eSpecial Needs gives school teams access to free design consultations, curated sensory room packages, and a full catalog of equipment designed for educational settings. Start with your students' needs, plan your space thoughtfully, and build a room that grows with your school community.
FAQs
What equipment should a school sensory room include first?
Start with a bubble tube and mirrors for visual input, a therapy swing for vestibular stimulation, and soft seating for a calming base. eSpecial Needs carries sensory room packages that bundle these core items together, which simplifies your initial purchase.
How much space do you need for a school sensory room?
You can create a functional sensory corner in as little as a closet-sized space. Larger rooms allow for separate active and calming zones. eSpecial Needs designs sensory environments for rooms of all sizes, including compact spaces where a full room is not an option.
How do sensory rooms help students with autism?
Sensory rooms give autistic students a controlled space to regulate their nervous system through tailored visual, auditory, tactile, and movement input. Research shows these structured breaks reduce challenging behaviors and improve classroom engagement. eSpecial Needs builds sensory room systems that combine calming and exploratory elements for a balanced experience.
Do teachers need special training to use a sensory room?
Yes. Staff must know how to operate equipment, adjust the environment to each student's profile, and avoid overstimulating the room. eSpecial Needs includes training guidance as part of its free sensory room design services.
Can a school build a sensory room on a limited budget?
Absolutely. A phased approach lets you start with core items and add equipment over time. eSpecial Needs helps schools plan budget-friendly sensory rooms and connects teams with funding resources for adaptive equipment purchases.