Table of Contents
- Key Takeaways: Turning a Classroom Into a School Sensory Space
- What Is a School Sensory Room?
- Why Convert a Classroom Into a Sensory Space?
- How to Choose the Right Classroom for Conversion
- How to Define the Purpose and Goals of Your Sensory Room
- How to Zone a Sensory Room for Multiple Needs
- What Equipment Do You Need for a School Sensory Room?
- Safety Planning for a School Sensory Room
- How to Build a Realistic Budget for Your Sensory Room
- Staff Training and Ongoing Room Management
- Common Mistakes to Avoid When Building a School Sensory Room
- In Conclusion: How to Build a School Sensory Room That Works
- FAQs
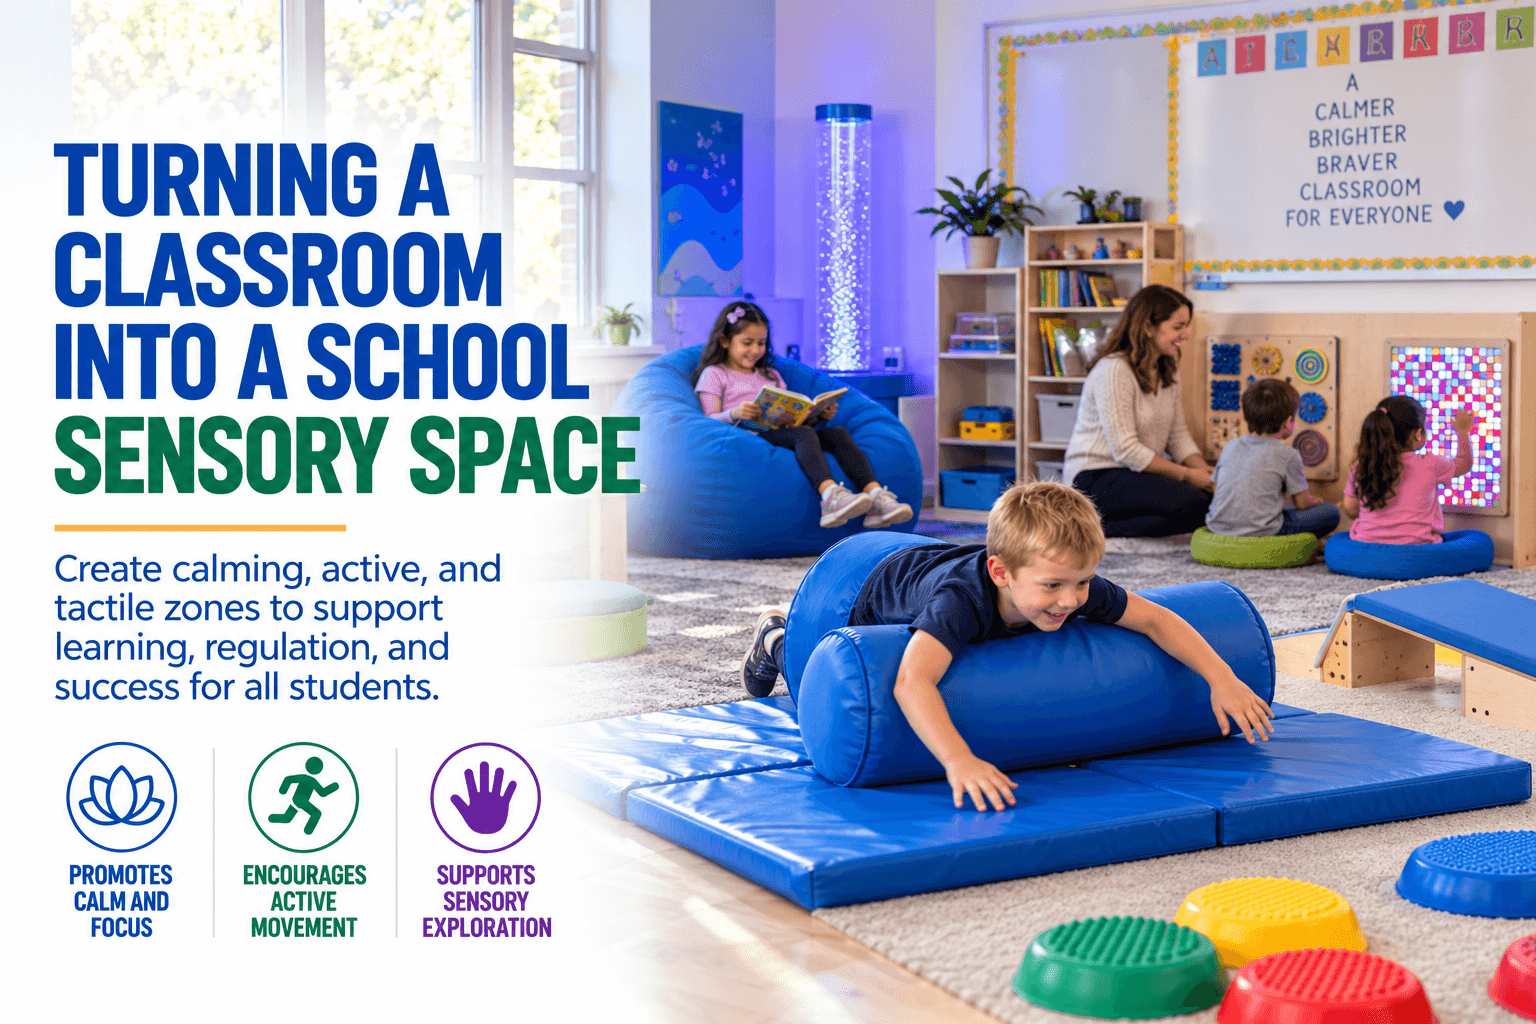
Converting an empty classroom into a dedicated sensory space gives your school team a practical tool for supporting students who need structured sensory input. For K-12 students with autism, sensory processing differences, ADHD, or developmental disabilities, a standard classroom can make regulation and focus genuinely difficult. A well-planned school sensory room addresses that challenge directly, giving students a predictable place to reset and return to learning.
This guide walks you through every step of the conversion process, from choosing the right classroom and defining your room's purpose to zoning the layout, selecting equipment, managing safety, and building a realistic budget. eSpecial Needs provides the sensory room equipment and planning support that school teams rely on to build these spaces with confidence.
Key Takeaways: Turning a Classroom Into a School Sensory Space
- Start by defining the room's purpose, target student population, and supervision plan before purchasing any equipment.
- Divide the room into distinct sensory zones so calming, active, and tactile activities can happen without competing with each other.
- Choose durable, easy-to-clean equipment rated for shared institutional use rather than products designed for single-user home settings.
- eSpecial Needs offers sensory room equipment bundles and individual tools built specifically for school and therapy environments.
- Budget in phases, prioritizing core items first, and plan for ongoing maintenance and staff training from the start.
What Is a School Sensory Room?
A school sensory room is a dedicated space, usually a converted classroom or resource room, designed to provide students with controlled, structured access to sensory input. Unlike a small sensory corner tucked into a busy classroom, a dedicated room offers a door that closes, a consistent layout, and equipment chosen for repeated use under staff supervision.
Schools typically use sensory rooms for scheduled sensory breaks, de-escalation support, and as part of a student's individualized education plan (IEP). Occupational therapists, special education coordinators, and classroom teachers may all refer students to the space throughout the day.
The 2025 National Council for Special Education (NCSE) guide Sensory Spaces in Schools emphasizes that these rooms should be student-centered, proactive rather than reactive, and never used as a reward or punishment. A sensory room works because it provides reliable, structured access to the sensory input students need to regulate and re-engage with learning.
Why Convert a Classroom Into a Sensory Space?
Many schools already have small sensory corners or portable sensory kits. A dedicated room takes this a step further. When a full classroom is converted, your team gains enough floor space to separate calming and active zones, store equipment securely, and control environmental factors like lighting and sound.
A dedicated sensory room also removes the student from the busy classroom environment entirely, which can be critical for students who are overwhelmed by ambient noise, visual clutter, or social pressure. The Scottish Government's 2026 guidance on sensory-inclusive learning environments highlights three design principles for these spaces: Clarity, Choice, and Calm.
For school-based therapists and special education leaders, a properly equipped sensory room can support IEP goals, reduce behavioral escalation, and provide a consistent therapeutic environment that portable tools cannot replicate.
How to Choose the Right Classroom for Conversion
Not every empty classroom is a good candidate. Location, size, and physical features all matter when you are planning a sensory room conversion. Start by evaluating these practical factors before committing to a room.
Location and Accessibility
Choose a room that is close to the classrooms and staff who will use it most. Proximity reduces transition time for students and makes supervision easier. Avoid rooms at the end of long hallways or in high-traffic areas where noise will interfere with the calming environment you are building.
Check that the room is accessible to students with mobility needs, including wheelchair access and proximity to accessible restrooms. A room near the occupational therapy office or special education wing is often ideal.
Room Size and Layout Considerations
A standard classroom, roughly 600 to 900 square feet, provides enough space for multiple sensory zones. Smaller rooms can work, but they may limit your ability to separate calming and active areas effectively.
Look for rooms with minimal windows (or windows that can be covered easily) so you can control natural light. Avoid rooms with exposed pipes, sharp corners, or built-in furniture that cannot be removed. A clean, open floor plan gives you the most flexibility for zoning.
Electrical and Infrastructure Needs
Sensory equipment like bubble tubes, LED wall panels, projectors, and sound systems all require electrical outlets. Count the existing outlets in the room and note their locations. You may need an electrician to add dedicated circuits, especially if you plan to run multiple lighting systems simultaneously.
Consider soundproofing as well. Acoustic panels, carpet, or soft wall coverings can reduce sound transfer to neighboring classrooms, making the room more effective and less disruptive.
How to Define the Purpose and Goals of Your Sensory Room
Before purchasing a single piece of equipment, your team needs to agree on what the room is for and what it is not for. This step prevents the room from becoming an unstructured hangout or a catch-all space for students who are simply having a difficult day.
Clarify Who Will Use the Room
Identify the student populations the room will serve. Will it primarily support students with autism and sensory processing challenges? Will it also serve students with ADHD, anxiety, or trauma-related needs? Knowing your primary users helps you choose the right equipment mix and set appropriate scheduling expectations.
Work with your occupational therapists, school psychologists, and special education team to determine whether the room will be used for individual sessions, small groups, or both. Each model has different supervision and scheduling requirements.
Set Measurable Goals
Define what success looks like. Goals might include reducing behavioral incidents in specific classrooms, supporting IEP-mandated sensory breaks, or improving student self-regulation skills over time. These goals shape your equipment choices, your scheduling, and how you measure whether the room is working.
Document these goals in a planning template that your team can revisit as the room develops. The NCSE recommends creating a sensory space planning document that includes the room's purpose, target users, scheduling guidelines, supervision protocols, and equipment inventory.
How to Zone a Sensory Room for Multiple Needs
Effective sensory rooms are not one large open area filled with random equipment. They are intentionally divided into zones that serve different sensory functions. Zoning helps students understand what each area is for and allows staff to direct students to the right zone based on their current regulation needs.
Calming Zone
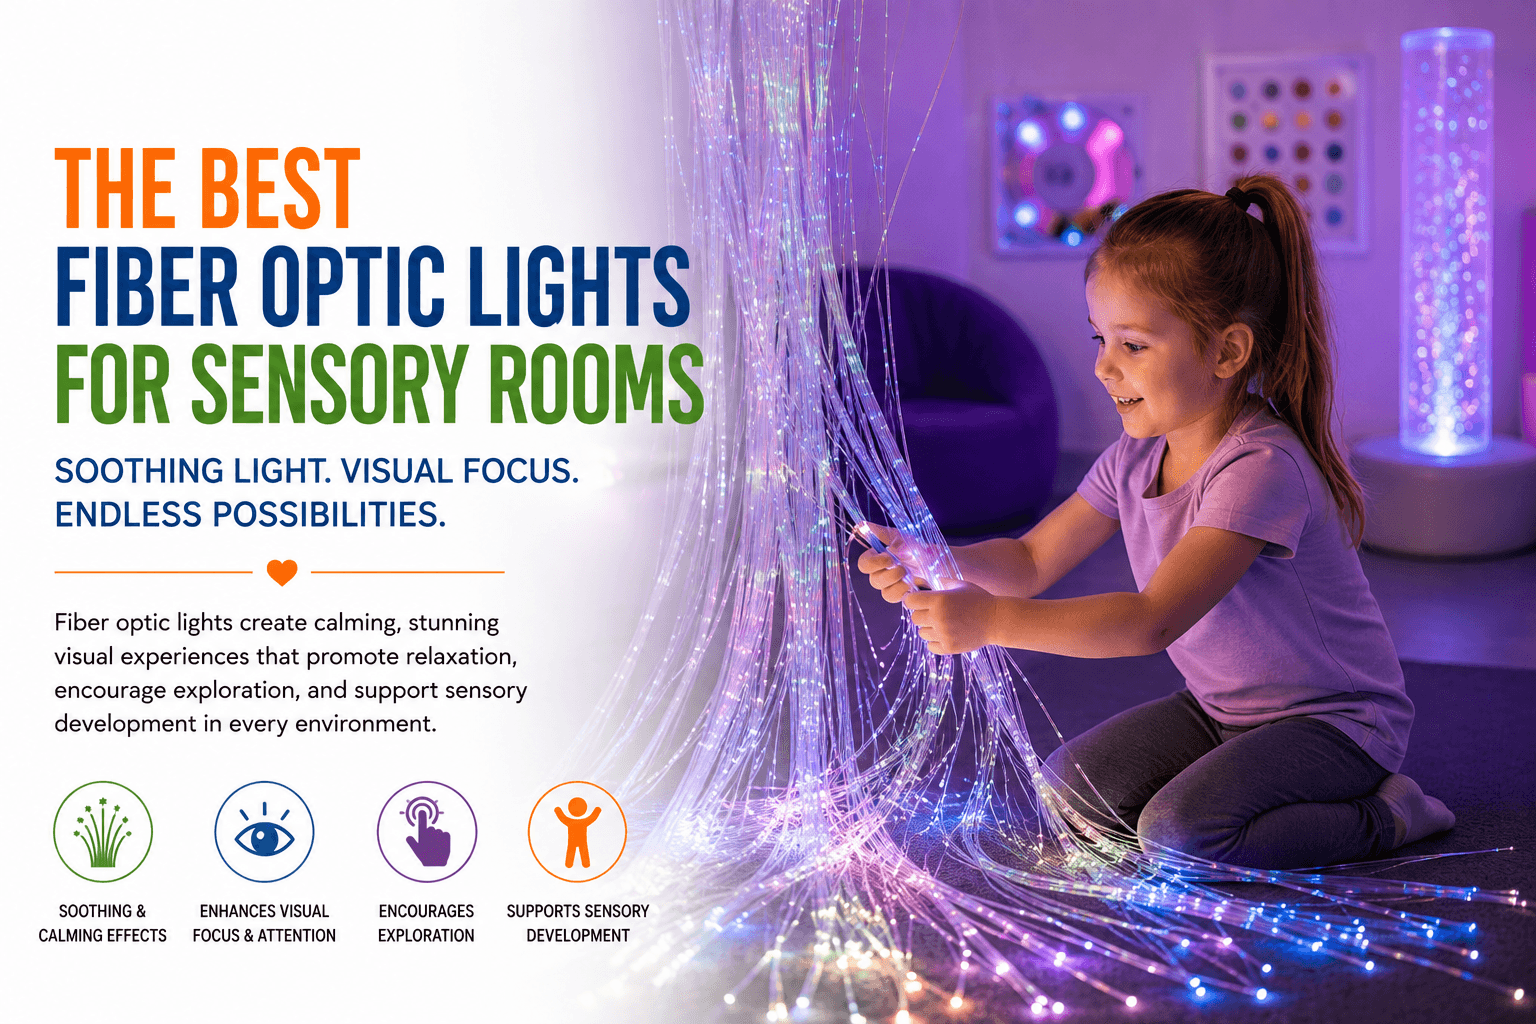
The calming zone is typically the largest area. It is designed for students who are overstimulated and need to reduce sensory input. Equipment in this zone might include weighted blankets, soft seating, dimmable or color-changing lighting, fiber optic tails, and noise-canceling headphones.
Keep this zone visually simple with muted colors and soft textures. Avoid placing active or stimulating equipment nearby. The goal is a low-stimulation environment where students can decompress safely.
Active Zone
The active zone provides proprioceptive and vestibular input for students who need movement to regulate. This area might include adaptive swings, mini trampolines, balance boards, or therapy balls.
Position this zone away from the calming area, ideally with a visual or physical barrier between them. Floor padding is important here for safety. Make sure the ceiling is high enough for any overhead-mounted swings and that the mounting hardware is rated for institutional use.
Tactile and Interactive Zone
This zone focuses on hands-on sensory exploration. Sensory wall panels, textured surfaces, fidget stations, kinetic sand tables, and interactive light displays give students opportunities for focused tactile input without the full-body movement of the active zone.
Wall-mounted equipment works well in this area because it keeps the floor clear and encourages upright engagement. eSpecial Needs carries a range of sensory wall panels, including LED marble panels and fiber optic wall tubes, that are designed for shared-use environments like schools.
Transition Area
Include a small area near the entrance where students can adjust before entering or leaving the room. A visual schedule, timer, or simple check-in board helps students understand the room's structure and prepares them for the transition back to their classroom.
This area does not need specialized equipment. A small table, a visual support display, and a comfortable chair are usually enough.
What Equipment Do You Need for a School Sensory Room?
Choosing the right equipment is where many school teams feel overwhelmed. The key is to match equipment to your room's goals, your student population, and the zones you have defined. Buy fewer high-quality items rather than filling the room with low-durability products that will not survive daily institutional use.
Visual Sensory Equipment
Visual tools create calming or engaging light-based experiences. Bubble tubes are one of the most commonly used pieces of sensory room equipment in schools because they combine visual stimulation with gentle sound. LED wall panels, fiber optic tails, and sensory projectors add layers of visual input that can be adjusted for different students and activities.
Look for products with remote controls and dimmable settings so staff can adjust the environment quickly. eSpecial Needs offers complete sensory room bundles, including the Superactive and Premium Multi-Sensory Room Bundles, that include bubble tubes, projectors, fiber optics, mirrors, and padding as a coordinated package.
Proprioceptive and Vestibular Equipment
Movement-based equipment provides the deep pressure and vestibular input that many students need. Weighted vests, compression garments, therapy swings, body socks, and therapy balls all fall into this category.
For school settings, prioritize equipment that can be cleaned easily, adjusted for different body sizes, and used under supervision without complex setup. Overhead swing systems require professional installation and regular safety inspections, so factor those costs into your planning.
Auditory Equipment
Sound is a powerful sensory tool. Noise machines, headphones with calming music, and sound-responsive light panels can all support regulation. Keep auditory equipment adjustable so individual students can control volume and sound type during their sessions.
Noise-canceling headphones are a simple, low-cost addition that many schools already provide. For a dedicated sensory room, consider a Bluetooth speaker system with a curated playlist of calming sounds and rhythmic music.
Tactile and Fine Motor Tools
Textured mats, kinetic sand, fidget bins, and tactile panels provide focused sensory input for students who respond well to touch-based activities. Sensory toys designed for therapeutic use are built to withstand repeated handling and can support fine motor development alongside sensory regulation.
Keep tactile tools organized and labeled so students and staff can find what they need quickly. Storage bins, labeled shelves, and visual inventories make the room easier to manage.
Safety Planning for a School Sensory Room
Safety must be integrated into every design decision, not treated as an afterthought. A sensory room used by multiple students throughout the day requires clear safety protocols, appropriate physical safeguards, and consistent staff training.
Physical Safety Measures
Pad floors and walls in the active zone. Secure all wall-mounted equipment with institutional-grade hardware. Cover electrical outlets and cord-manage all lighting and sound equipment to prevent tripping or pulling hazards.
Ensure the room has a vision panel in the door or a window that allows staff outside the room to see in. Avoid creating blind spots behind large equipment. Every area of the room should be visible from the doorway or from a designated supervision position.
Supervision and Scheduling Protocols
Decide whether the room will be staffed at all times or whether certain students can use it independently. For most K-12 settings, direct supervision is recommended. Create a scheduling system that limits the number of students in the room at once and tracks who is using the space and when.
The Chappaqua Central School District's policy on sensory room use provides a useful framework: sensory rooms should generally be used in conjunction with a behavior intervention plan that is part of the student's IEP, and staff who use the room should receive training on its protocols at least annually.
Hygiene and Maintenance
Shared sensory equipment must be cleaned regularly. Create a daily cleaning checklist for high-touch items like fidget tools, tactile panels, and soft seating. Deeper cleaning for items like ball pits and weighted blankets should happen weekly or as needed.
Build a maintenance schedule for mechanical and electrical equipment. Bubble tubes need periodic water changes and cleaning. Swing hardware requires inspection for wear. Projector bulbs and LED panels have service lives that should be tracked.
How to Build a Realistic Budget for Your Sensory Room
School sensory room budgets can range widely, and most school teams do not have unlimited funding. The good news is that a phased approach lets you start with core essentials and add equipment over time as funding becomes available.
Phase 1: Core Essentials
Start with the items that address your highest-priority student needs. A basic calming setup might include soft seating, a weighted blanket or two, dimmable lighting, noise-canceling headphones, and a small selection of tactile tools. Floor padding for safety in the active zone is also a first-phase priority.
This phase typically addresses the room's physical preparation as well: painting, outlet installation, soundproofing, and any necessary construction or furniture removal.
Phase 2: Sensory Anchors
Add the centerpiece items that define the room's sensory character. A bubble tube with a platform, a set of sensory wall panels, or an interactive projection system can transform the room from a basic calm-down space into a true multi-sensory environment.
eSpecial Needs carries Experia sensory room systems that include bubble tubes, fiber optics, projectors, mirrors, and padding as coordinated packages. These bundles can simplify purchasing and help ensure that your equipment works together as a cohesive system.
Phase 3: Expansion and Specialization
As funding allows, expand into specialized equipment that targets specific student populations or therapeutic goals. Adaptive swings, interactive floor systems, and AAC-compatible sensory tools can be added in this phase.
Track usage data from the first two phases to guide these purchases. If your calming zone sees the heaviest use, invest more in that area. If students are consistently requesting movement-based input, expand the active zone.
Funding Sources to Explore
Many schools fund sensory rooms through special education budgets, PTA fundraising, local grants, and corporate donations. Some districts include sensory room equipment in capital improvement budgets. Federal IDEA funds may also support sensory room equipment when it is tied to IEP-mandated services.
Document everything. Detailed records of student outcomes, usage data, and equipment costs strengthen future funding requests and help justify the ongoing investment in the space.
Staff Training and Ongoing Room Management
A sensory room is only as effective as the staff who manage it. Without proper training, even the most well-equipped room can become underused, misused, or unsafe.
Who Needs Training?
At minimum, train every adult who will supervise students in the room. This includes special education teachers, paraprofessionals, occupational therapists, and any general education staff who may be asked to accompany students. Training should cover the room's purpose, each zone's function, equipment operation, safety protocols, and de-escalation procedures.
Establishing Room Rules and Protocols
Post clear, visual rules in the room that students can understand. Common rules include: one student per swing, ask before touching equipment, use a timer, and follow the visual schedule. Rules should be taught to students during their first visit and reinforced consistently.
Create a protocol for how students enter and exit the room, how sessions are timed, and how staff document each visit. Consistent routines make the room predictable, and predictability is what makes the space effective for students who need sensory support.
Regular Review and Adjustment
Schedule quarterly reviews of room usage, equipment condition, and student outcomes. Use these reviews to adjust scheduling, rotate equipment, replace worn items, and update protocols as your student population changes.
Involve your occupational therapist in these reviews. They can assess whether the room's equipment mix is still meeting student needs and recommend adjustments based on current caseloads and IEP goals.
Common Mistakes to Avoid When Building a School Sensory Room
Even well-intentioned sensory room projects can go off track. Knowing the most common pitfalls helps your team plan around them from the start.
Buying equipment before defining the room's purpose is the most frequent mistake. Without clear goals and a zoning plan, schools end up with a collection of products that do not work together and a room that confuses rather than supports students.
Overlooking maintenance is another common issue. Sensory equipment requires regular cleaning, inspection, and occasional repair. If your budget and staffing plan do not account for ongoing upkeep, the room will deteriorate quickly.
Using the room as a punishment or unsupervised "time out" space undermines its therapeutic purpose. The NCSE guidance is clear: sensory spaces should never be used as a consequence. When they are, students begin to associate the room with negative experiences, and it loses its effectiveness as a regulation tool.
In Conclusion: How to Build a School Sensory Room That Works
Converting an empty classroom into a sensory space is a meaningful investment in your students' regulation, learning, and well-being. The process requires careful planning, clear goals, and intentional design, but the result is a room that gives your school team a reliable, structured tool for supporting students with diverse sensory needs.
Start with a planning team that includes occupational therapists, special education leaders, and administrators. Define the room's purpose before choosing equipment. Zone the space so calming, active, and tactile areas serve distinct functions. Budget in phases, and build maintenance and training into your plan from day one.
eSpecial Needs supports school teams with sensory room planning resources, equipment bundles, and individual products selected for durability and therapeutic value. Browse the collection to find products that help make your sensory room a space where students can regulate, refocus, and return to learning with comfort and confidence.
FAQs
What is the ideal room size for a school sensory space?
A standard classroom of 600 to 900 square feet provides enough space for separate calming, active, and tactile zones. Smaller rooms can work for a single-zone calming space, though they limit your ability to serve students with different regulation needs simultaneously.
How much does it cost to convert a classroom into a sensory room?
Costs vary based on equipment choices and room preparation needs. A basic calming setup can start with a modest investment in soft seating, weighted products, and dimmable lighting. Multi-sensory rooms with bubble tubes, projectors, and interactive panels require a larger budget. A phased approach helps schools manage costs over time.
What sensory room equipment should schools buy first?
Start with items that address your highest-priority student needs. Soft seating, weighted blankets, dimmable lighting, noise-canceling headphones, and floor padding provide a strong foundation. eSpecial Needs carries sensory room bundles that include coordinated equipment packages for schools building a multi-sensory environment.
How should staff be trained to use a school sensory room?
All supervising adults should receive training on the room's purpose, zone functions, equipment operation, safety protocols, and de-escalation procedures. Training should happen before the room opens and be refreshed at least annually. Occupational therapists are often the right team members to lead this training.
Can a sensory room be used for students without diagnosed disabilities?
Many schools open sensory rooms to all students who may benefit from structured sensory input, not only those with formal diagnoses. Regulation challenges can affect any student, and a well-managed sensory room can support broader student well-being. Your school's policies and scheduling structure will determine how access is managed.
How does eSpecial Needs support school sensory room projects?
eSpecial Needs provides sensory room equipment designed for institutional use, including bubble tubes, sensory wall panels, weighted products, adaptive swings, and complete multi-sensory room bundles. The eSpecial Needs team helps school buyers choose products that match their room goals, student needs, and budget.