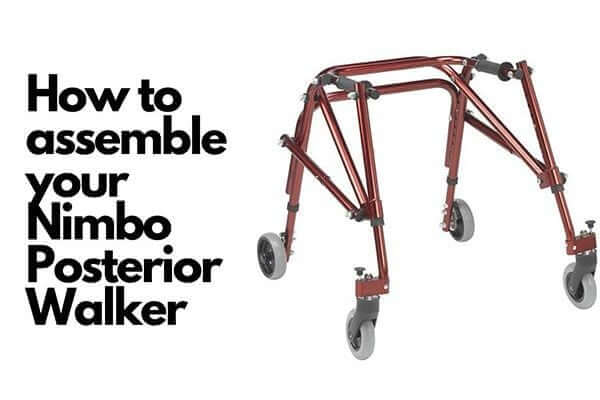
It takes just a few quick steps to put together your new NImbo Pediatric Walker. In this video, we guide you through the process of assembling the Nimbo from start to finish so your child can get moving.
The Nimbo Posterior Walker supports the user from behind requiring them to procure a more upright posture and it also promotes trunk extension. Many physical therapists prefer posterior (reverse) walkers for children with Cerebral Palsy and other neurological, orthopedic and developmental disorders.
Get your Nimbo Posterior Walker from eSpecial Needs
Automatic transcript below, please excuse errors:
In this video we will show you how to set up and adjust your Nimble Posterior Walker. To unfold the Nimbo pull, the hand grips and cross brace in the opposite directions. Continue to unfold until the push pins click into place. To install the legs, match the the leg numbers with the corresponding frame numbers. To press the push pins on the leg and slide into the frame. When locked into position, the pushpins will click through the frame.
Adjust the height of the Walker by pressing the pushpins on each leg and slide the leg into the desired position. You can lock the wheels by pressing down on this pin. You can unlock the wheels by pulling upwards.
Check your Walker every so often to make sure all the screws are tightened. If you need to clean it, do so with some mild soap, warm water and a wash bag.
Get your Nimbo Posterior Walker from eSpecial Needs